
AI Real Estate Video Generator: Turn Listing Photos Into Video
Turn real estate photos into an accurate listing video with a practical shot list, restrained motion prompts, review steps, and disclosure guidance.

Turn one dish photo into a realistic food video with controlled motion prompts, a three-shot storyboard, failure fixes, and an export checklist.
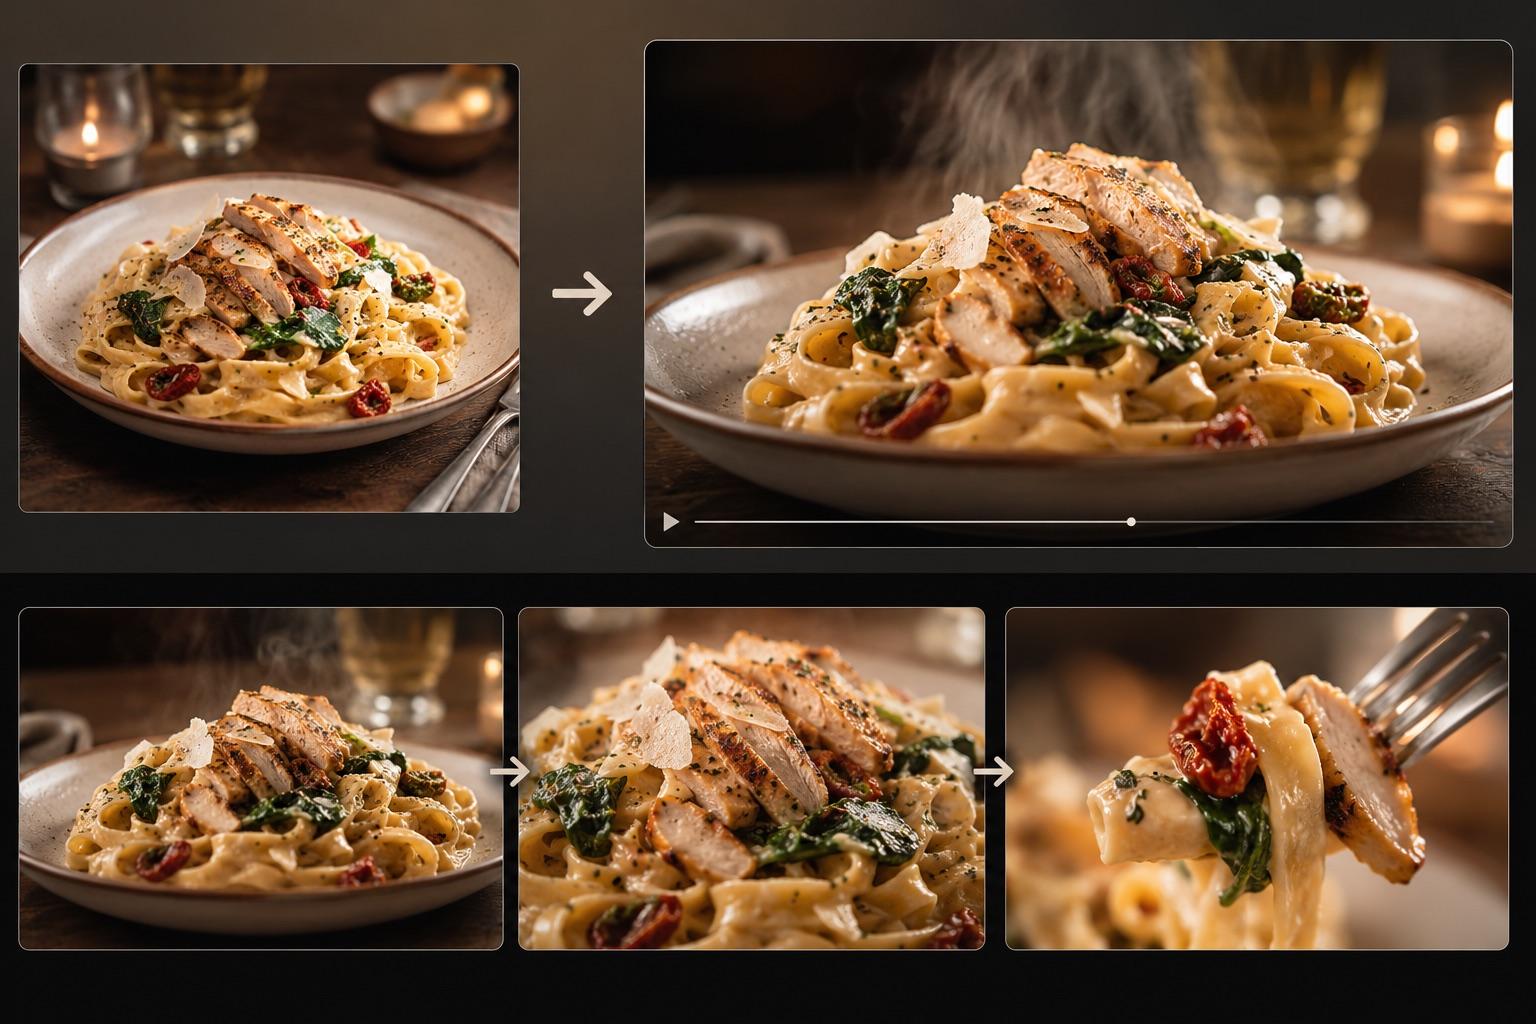
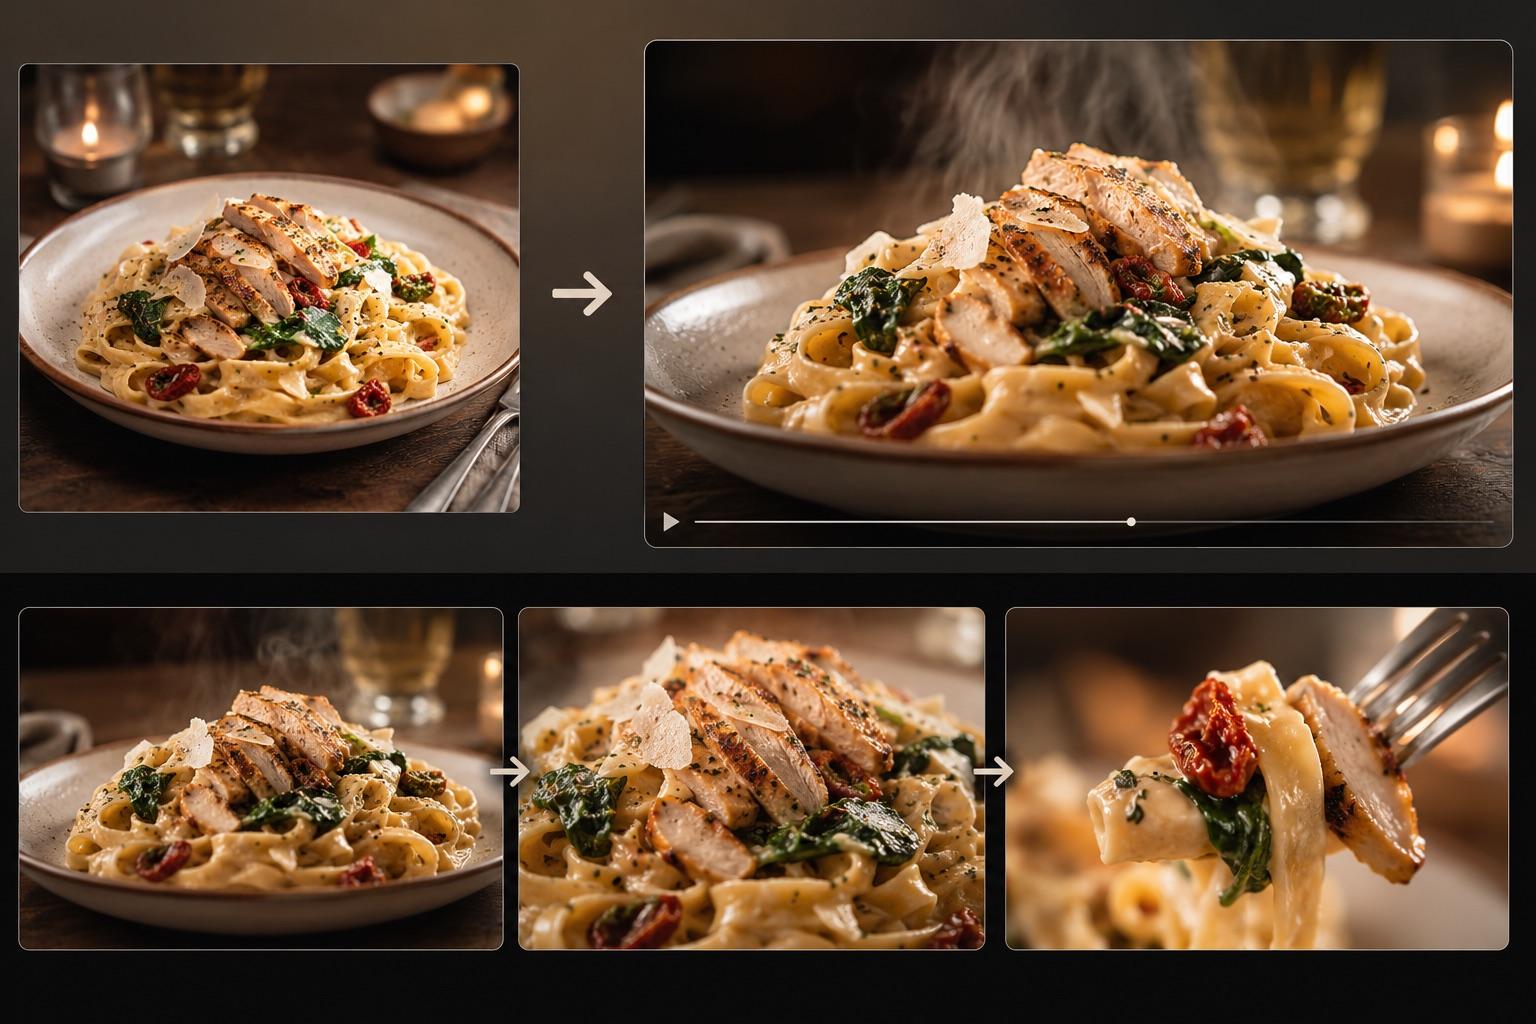
An AI food video generator takes a still photo of a dish and adds controlled, short-duration motion: steam curling above hot broth, a slow push-in toward the plate, sauce sheen shifting under light, a garnish settling, or a fork lifting one bite. It does not replace a full food-video production. It creates a short loop or clip that can be edited for social media or a promotional page, all from one well-shot source photo.
The output is a creative asset, not a documentary record. That distinction matters for restaurants and food brands that also need truthful menu photography for Google Business Profile and similar platforms.
Before you open any tool, look at the photo you plan to use. The generator works with what you give it. A dim, cluttered, or oddly cropped photo will produce a dim, cluttered, or oddly cropped video, just with motion added.
Run through this checklist:
If your photo passes all seven checks, you are ready to plan the motion.
Before you generate anything, decide what the video needs to show. A single 4-second clip of steam rising is fine for a quick Reel, but a short sequence of two or three shots tells a richer story. Here is a three-shot storyboard that works for most plated dishes.
A slow push-in toward the dish. The camera starts slightly wider and drifts forward, as if the viewer is leaning in. This is the lowest-risk motion: no ingredients need to move, nothing needs to deform. The AI only needs to interpret depth from the still photo and scale the frame inward.
Best for: the opening second of a Reel, a menu thumbnail, or a delivery app listing.
One small element moves. Steam rises from hot broth. A sauce sheen glides across the surface. A sesame seed or herb leaf settles. A drop of condensation rolls down a cold glass beside the plate. The key is restraint: one element, one direction, no full-scene transformation.
Best for: the middle hook that makes someone stop scrolling.
A fork, spoon, or chopstick enters the frame and lifts one bite. This is the highest-risk shot because it requires the model to generate a utensil, a hand or partial hand, and the lifted portion of food without morphing the dish underneath. You can try it with the AI food video generator, but keep the lift short and expect to generate a few variations before one looks right.
Best for: the payoff shot that triggers the craving response.
If three shots feel like too much, start with one push-in and one steam shot. Two clean clips beat three messy ones every time.
Here is the full path, from opening the tool to exporting a file ready for social media.
Go to the AI food video generator and upload your prepared photo. You can also use the general image-to-video workspace when you want a model-neutral workflow.
Write a short motion prompt. Be specific about what moves and what stays still. Avoid vague instructions like "make it look delicious." The model does not understand delicious. It understands "steam rises slowly from the center of the bowl while the chopsticks remain still."
A few prompt examples that tend to produce clean results:
For hot dishes with broth or soup:
"Thin steam rises gently from the surface of the ramen broth. The noodles, egg, and green onion remain still. No camera movement."
For plated dishes with sauce:
"A slow push-in toward the grilled salmon fillet. The lemon slice and herbs stay in place. The sauce sheen shifts slightly under the light."
For desserts or cold dishes:
"Soft overhead light drifts across the chocolate cake slice, catching the glossy ganache. A single cocoa dust particle settles. No other movement."
For the fork-lift shot (generate multiple variations):
"A fork enters from the bottom right and lifts one bite of pasta. The rest of the dish does not change shape or position. The background stays still."
Note what each prompt specifies: the moving element, the still elements, and the camera behavior. That structure gives the model clear boundaries. Without boundaries, it tends to invent motion everywhere, and the result looks like animated soup.
Run the generation. What you get back will likely fall into one of three categories:
If you generated multiple shots, bring them into any video editor (CapCut, Premiere, or even the Instagram editor). Trim each clip to 2-3 seconds and add a simple crossfade transition between shots. Choose the total runtime based on the story and destination instead of stretching a clean shot simply to make the edit longer.
Instagram's published Reel specifications accept aspect ratios from 1.91:1 to 9:16 and require at least 30 FPS and 720 pixels of resolution. A 9:16 vertical master uses the full-screen Reel canvas. Confirm the current requirements for every other platform before exporting additional versions.
| Motion type | What to prompt | Risk level | Best for |
|---|---|---|---|
| Steam | "Thin steam rises gently from the center" | Low | Hot soups, ramen, coffee, tea |
| Slow push-in | "Camera slowly pushes in toward the dish" | Low | Any plated dish, opening shot |
| Sauce sheen | "Light catches the sauce surface, shifting slightly" | Low | Glazed proteins, pasta, desserts |
| Garnish settle | "A single herb leaf settles into place" | Medium | Salads, plated entrees |
| Condensation | "A drop of condensation rolls down the glass" | Medium | Cold drinks, desserts with cold elements |
| Fork lift | "A fork lifts one bite; the rest of the dish stays still" | High | Pasta, salad, cake |
| Pour or drizzle | "A thin stream of sauce pours onto the dish" | High | Pancakes, ice cream, plated desserts |
| Full-scene motion | "Everything comes alive with movement" | Very high | Avoid unless you want abstract art |
| What you see | Likely cause | Fix |
|---|---|---|
| Portion size changes mid-clip | Model hallucinating scale | Add "the portion size stays the same" to the prompt |
| Plate or table surface warps | Background too busy or lack of depth cues | Crop tighter to the dish, use a simpler background photo |
| Flickering or strobing | Compressed source or harsh shadows | Re-shoot with softer light and upload the original photo |
| Steam looks like smoke | Motion too aggressive | Add "thin, gentle steam" and reduce generation intensity if the tool offers a control |
| Fork appears but hand is missing or distorted | Tool handles utensils better than anatomy | Crop the fork shot so the hand stays out of frame, or use a top-down angle |
| Colors shift noticeably | Model reinterprets lighting | Add "keep the original colors and lighting" to the prompt |
An AI-generated food video is marketing and social creative. It is not a replacement for the original photo as a truthful record of what you serve. Google's Business Profile photo guidelines say images should be in focus, well lit, and represent reality without significant alteration or excessive filters or AI. If you use an AI-generated clip on a listing, delivery platform, or menu, be transparent that motion effects were added to a real photo of your dish and check the destination's current policy.
The safe approach: keep the original still photo as your primary menu and listing asset. Use the AI-generated video on social media, in ads, in email campaigns, and on your website hero section, where the context is clearly promotional. Retain the original photo in your media library so you always have a ground-truth reference.
Also, do not use the generator to invent dishes you do not serve, to add ingredients that are not in the recipe, or to make a portion look larger than it is. The tool adds motion to what is already in the photo. It should not invent claims about your food.
InkFox offers access to the AI food video generator. Check the current plan details on the AI food video generator page for the most up-to-date information on what is included at each tier.
Generation time varies with the selected model, settings, and service load. Allow time to review each result and to retry any shot that changes the food.
Photos shot in natural or soft artificial light, at a 45-degree or top-down angle, with a single hero dish and a clean background. The checklist earlier in this guide covers the specifics.
It is not recommended. Group shots with multiple plates tend to produce inconsistent motion, with some dishes moving and others warping. Crop to one dish per generation and stitch the clips together afterward.
Yes. Steam and condensation are low-risk motion types that work well for hot coffee, tea, and cold drinks with visible glassware. A slow push-in also works for cocktail presentations.
The motion is added to your photo, so the starting frame is your dish. However, motion generation can introduce subtle changes to colors, edges, or small details. Always review the output carefully. If exact plating fidelity matters, use the gentlest motion types (steam, push-in) and keep the original photo as your primary menu asset.
Google's guidelines say Business Profile images should represent reality without significant alteration or excessive AI. Because the policy does not specifically approve this workflow, use the unaltered source as the listing asset and check the current policy before uploading generated motion.
Instagram accepts Reels in aspect ratios from 1.91:1 to 9:16. Export at 1080x1920 (9:16) for full-screen Reels, at a minimum of 30 FPS and 720 px resolution. A 1:1 square export at 1080x1080 works for in-feed posts.
The value of an AI food video generator is not that it replaces your camera or photographer. It turns one good photo into a short promotional motion asset. Steam, a slow push-in, a sauce sheen, or a carefully reviewed fork lift can give an editor several useful shot options while the original photo remains the truthful reference.
Start with the best photo you have. Plan the motion before you prompt. Generate with restraint. Keep the original as your truth. And if a shot does not work on the first try, simplify the prompt and run it again.
Turn real estate photos into an accurate listing video with a practical shot list, restrained motion prompts, review steps, and disclosure guidance.
How to turn a phone selfie into a professional headshot for LinkedIn, resumes, and team pages with free AI: which selfie to use, how to pick a style, and how to check the result still looks like you.
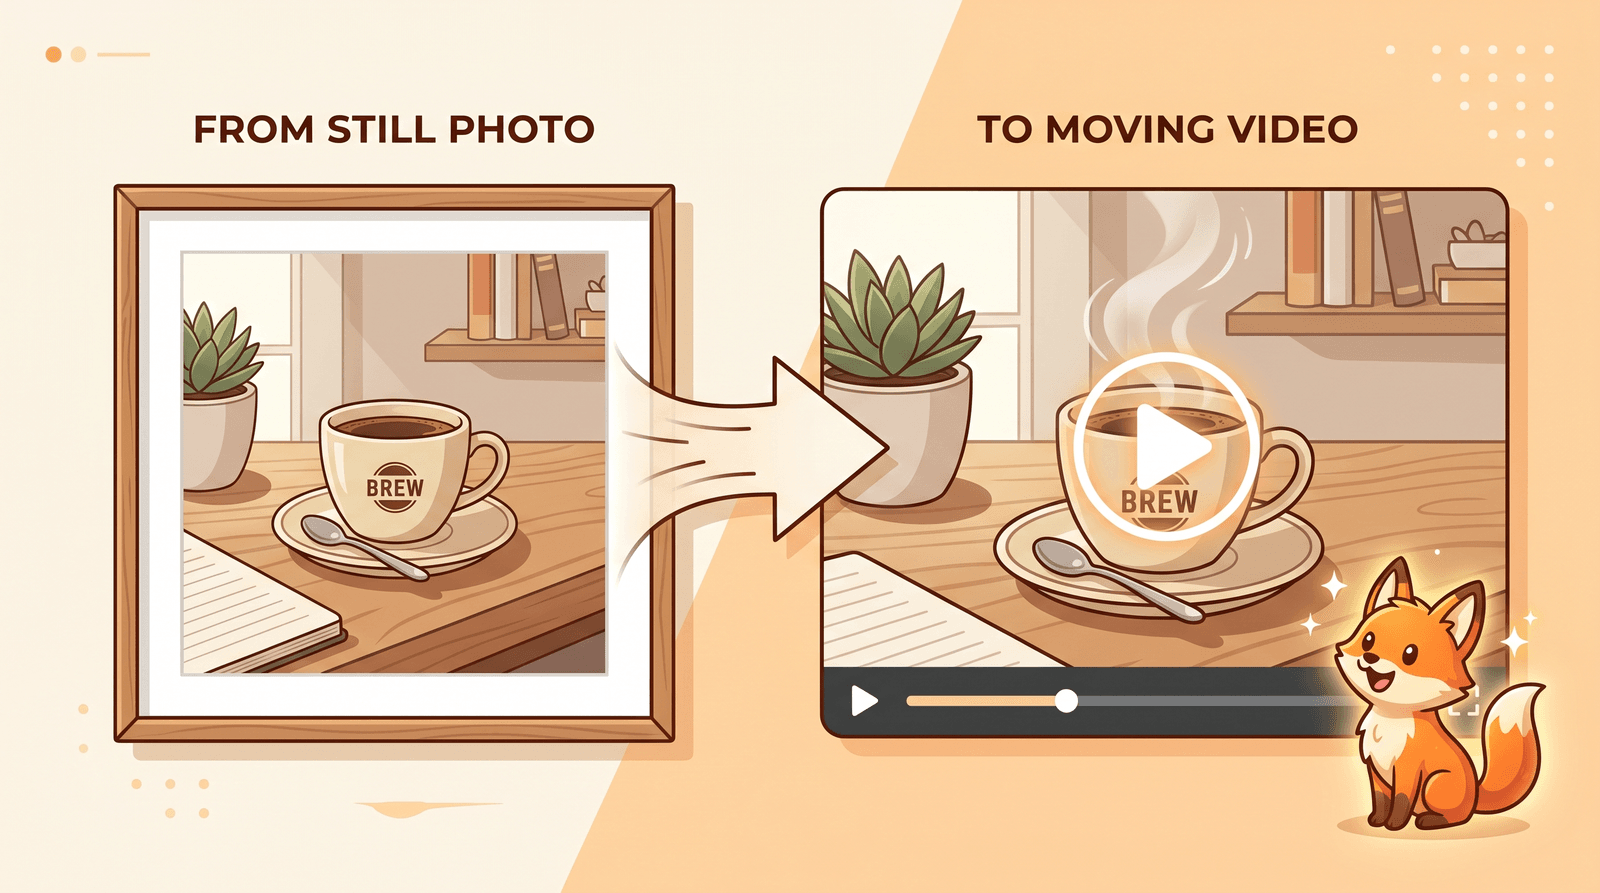
A step-by-step guide to turning any photo into a short video with AI using Inkfox AI image to video. Learn how to animate a picture, write motion prompts, pick the right model, and export a clean clip for free.
Newsletter
Subscribe to our newsletter for the latest news and updates