
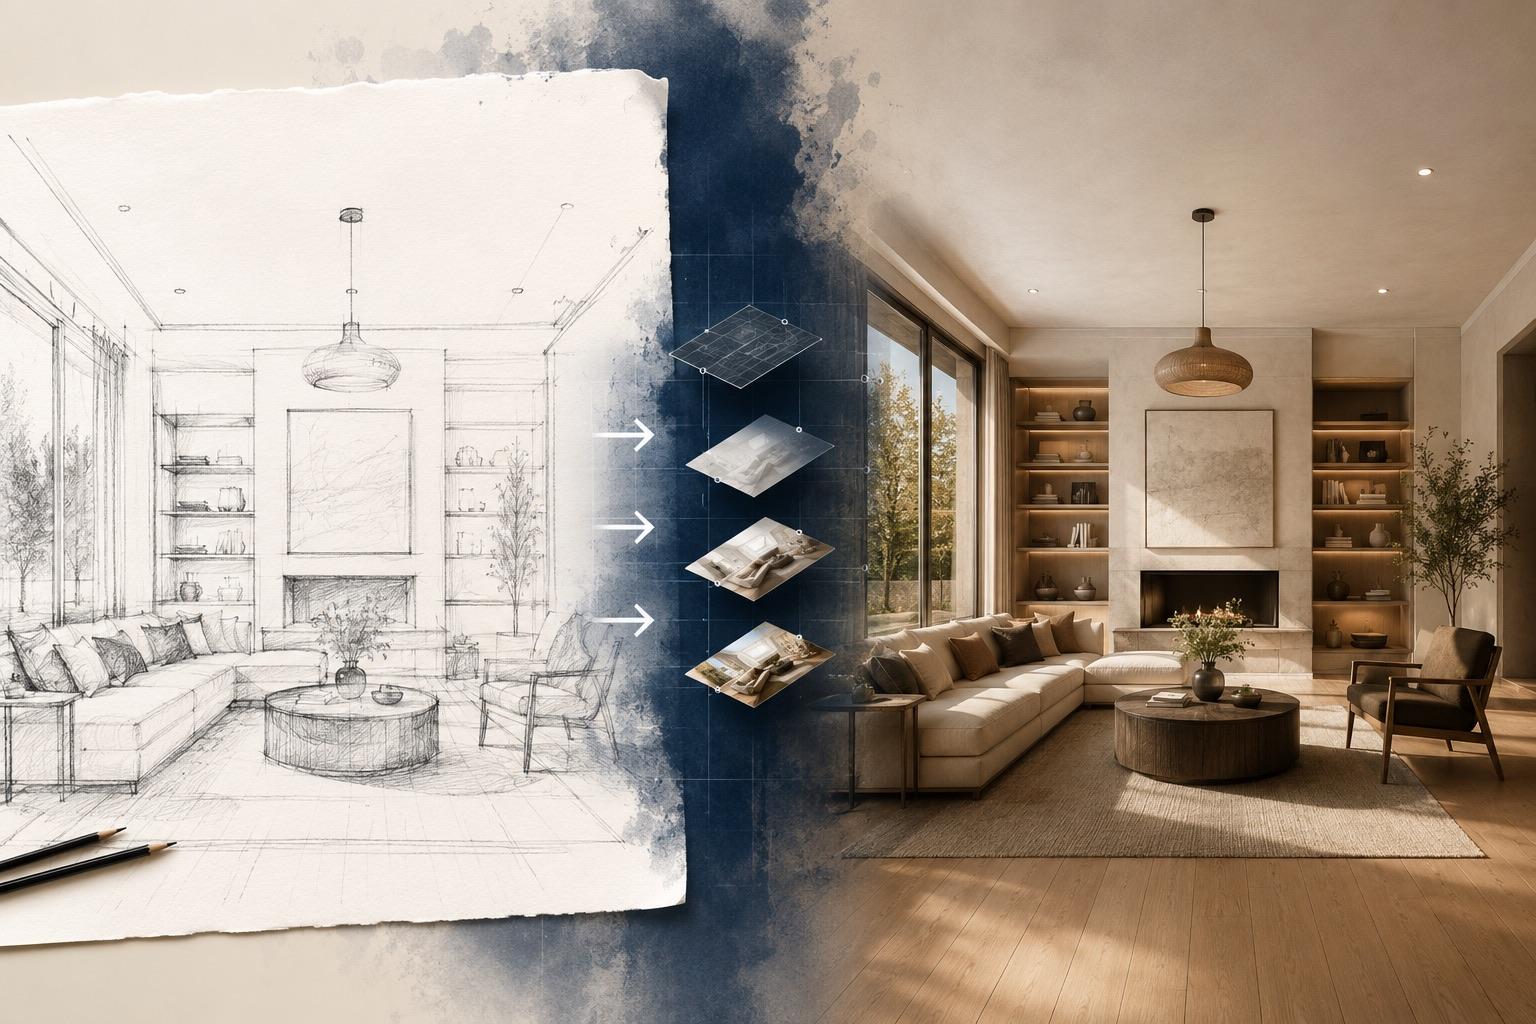
How to Turn a Sketch Into an Image With AI (AI Sketch to Image Guide)
A practical guide to AI sketch to image: prepare pencil drawings, line art, or screenshots, write prompts that respect your lines, and fix the common failures.

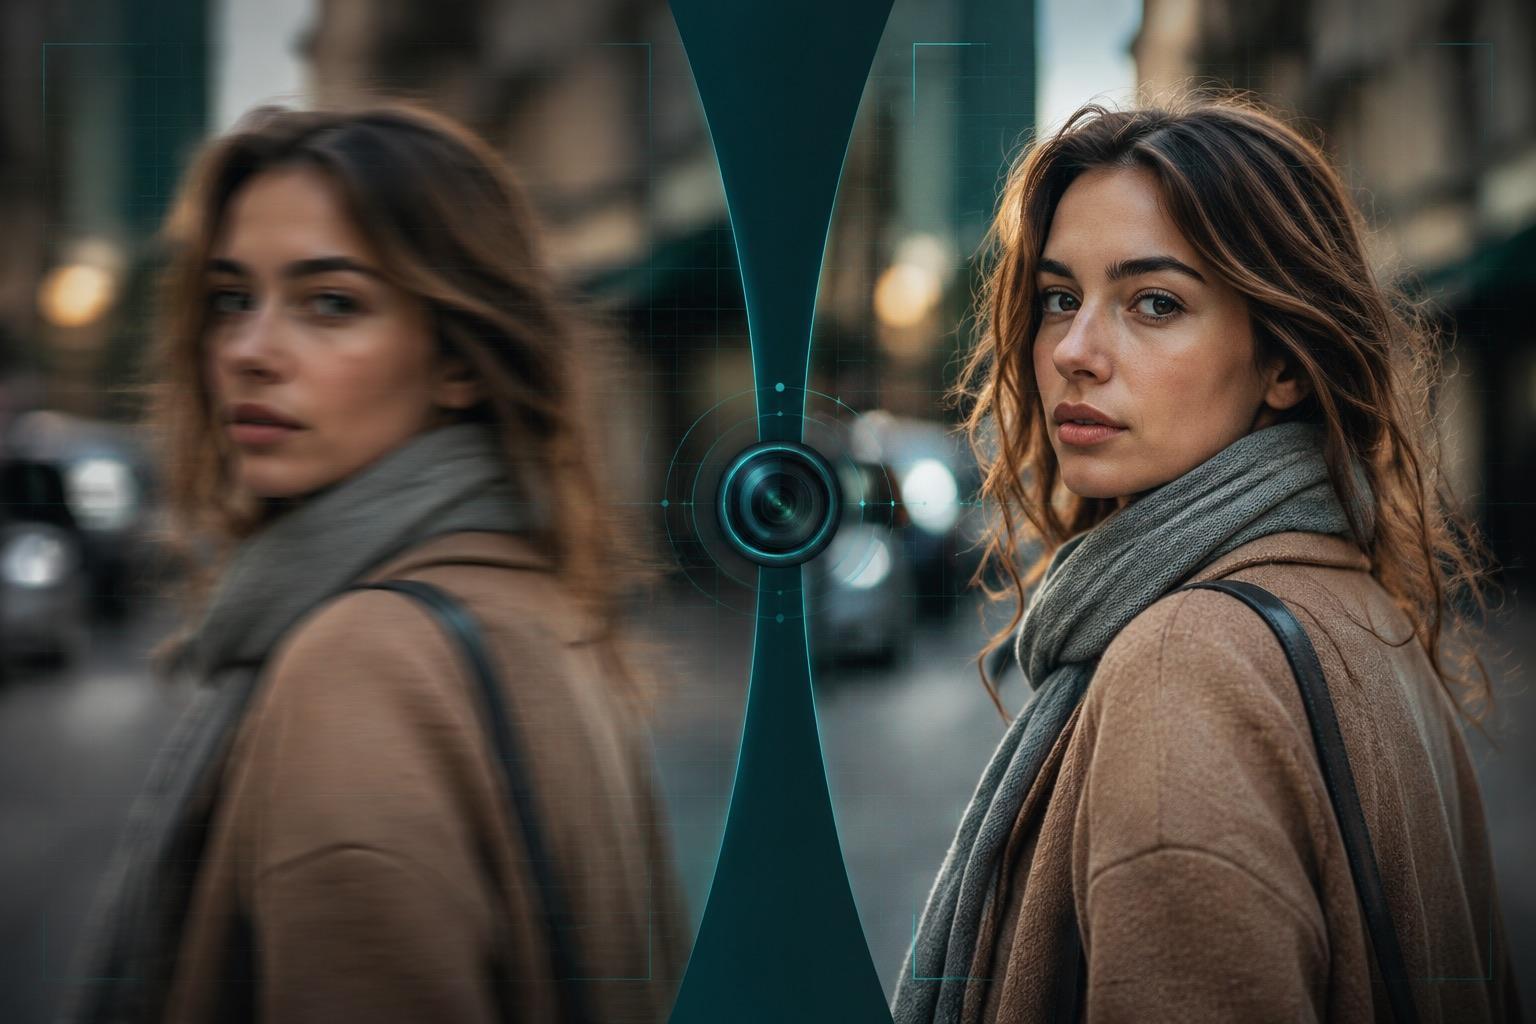
A realistic guide to AI image unblur: which kinds of blur can actually be fixed, how to prepare your file, a step-by-step Inkfox workflow, and how to spot fake detail.
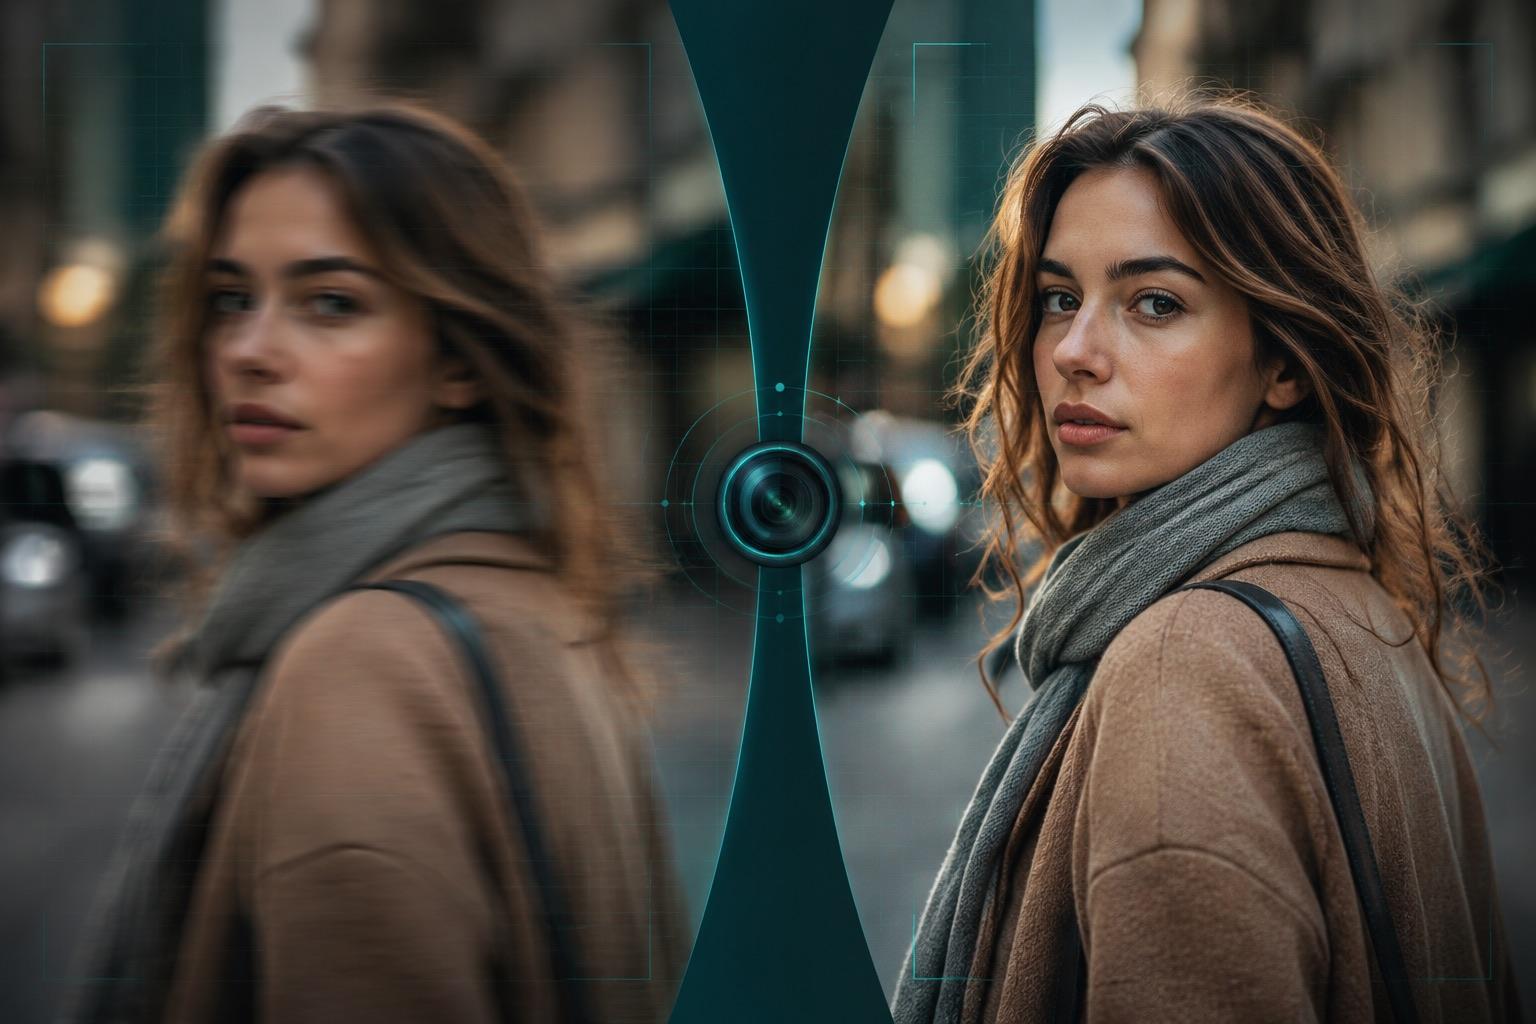
The photo was fine on your phone screen. Then you dropped it into a product listing, a slide, or a print layout, and the softness became obvious. Eyelashes turned into smudges. Label text went mushy. The edge of the shoulder blurred into the background.
This is one of the most common image problems there is, and it's also one of the most over-promised. AI unblurring can help with mild and moderate softness. It does not undo a badly ruined shot, no matter how the tool is marketed. Knowing which situation you're in saves you a lot of wasted attempts.
To unblur an image with AI:
If the original is severely blurred, stop early and reshoot. That's a faster path than fighting the file.
Five different problems all get called blur, and lumping them together is why people get disappointing results.
Slight focus miss, a soft lens, a smeared fingerprint on the phone camera, or gentle camera shake. The underlying structure is still present in the pixels, just low in contrast.
This is the best case for AI unblur. Results here can be useful when carefully reviewed.
Something moved during the exposure — the subject, or the camera. Detail is smeared along a direction, and the smear direction is often visible if you look at bright highlights.
Light motion blur can improve noticeably. Heavy streaking, where a face has become a horizontal band, cannot be reconstructed. The information about what was there is gone, not hidden.
The camera locked focus on the wrong plane. The background is sharp and your subject isn't, or vice versa. Mild misfocus may respond reasonably. Strong misfocus — where features have merged into flat blobs — will produce plausible-looking detail that is essentially invented.
Not blur at all, though it looks like it. Blocky squares around edges, banding in gradients, halos around text. This is what happens after a file has been re-saved, screenshotted, forwarded through messaging apps, or downloaded from a social platform.
Sharpening tools can make compression artifacts worse, because they amplify exactly the edges you don't want. This one is best addressed by finding a cleaner source file.
A 400-pixel-wide image looks soft because there simply aren't enough pixels, not because focus was missed. The fix isn't unblurring — it's AI image upscaling, which adds pixel dimensions. Running an unblur pass on a tiny image mostly just crisps up its limitations.
Many real photos have two or three of these at once. A forwarded screenshot of a low-res photo taken in dim light has compression, low resolution, and motion blur together.
Here's the part most guides skip.
AI does not recover hidden detail. There is no secret sharp version buried inside a blurry file waiting to be extracted. When a model sharpens a photo, it estimates what plausibly belonged there based on learned patterns, then generates that estimate.
For a slightly soft portrait, that estimate may stay close to visible structure that remains in the source.
For a heavily blurred one, the estimate is largely fiction. It can look confident. It may look great. It is still a guess.
That distinction has practical consequences:
Used honestly, AI unblur is a presentation tool. It can make acceptable photos look better. It doesn't rescue failed ones.
Input quality drives everything downstream. A few minutes here can save repeated attempts later.
Start at AI unblur image for focus and softness problems. If the real issue is size — the image is small and you need it larger — go to AI image upscaler instead. If you want to change the look of the photo rather than its clarity, that's image to image territory. Browse all Inkfox tools if you're unsure which problem you're solving.
Use the original file where possible, without added filters or previous sharpening.
Run the unblur workflow, then save the result separately from the source.
This is the step people skip, and it's the only one that tells you whether the result is usable. Preview thumbnails hide everything. Open the original and the output at 100% and look at the same regions in both.
If the sharpening is grounded in the source, you're done. If it looks synthetic, try again from a better source file, try upscaling instead, or accept that this photo needs reshooting.
If clarity improved and you now need larger dimensions for print or a marketplace listing, run the sharpened result through AI image upscaler as a second pass.
Different subjects fail in different ways. Adjust what you check.
Faces are where reconstruction is most visible and most consequential.
Commercial accuracy matters more than crispness.
Text is the least forgiving subject in AI sharpening, because a slightly wrong stroke becomes a different character.
Old prints usually have several problems at once: soft focus from a period lens, grain, scanning softness, fading, scratches, and physical damage.
A simple routine that catches most bad results:
The most frequent portrait failure — pores and micro-texture erased and replaced with smoothness.
Fix: start from a better source, or blend the sharpened version with the original in an editor so real texture returns. If it's still plastic, the input was too soft for this to work.
A bright or dark outline along high-contrast boundaries — a shoulder against a bright wall, a roofline against sky. It's the classic over-sharpening signature and it reads as edited instantly.
Fix: don't stack multiple sharpening passes. If you already sharpened elsewhere, go back to the unedited original and start over.
Letters that changed, numbers that shifted, logos that are subtly wrong, jewelry or buttons that appeared.
Fix: treat all generated text as unreliable. For anything that matters, replace it with verified typography in a design tool, or re-source the image.
Crunchy edges everywhere, exaggerated noise, harsh transitions. Often this comes from a compressed source where the tool amplified artifacts.
Fix: find an uncompressed original. If none exists, try upscaling rather than sharpening — adding pixels can handle some kinds of softness more gracefully than boosting edges.
Some files can't be fixed. Very heavy motion blur, extreme defocus, and tiny heavily compressed images genuinely lack the information needed.
Fix: reshoot, or find another photo from the same session. Recognizing this early is a skill.
Facial features shifted, or the product looks like a different item.
Fix: don't use it. This is the one failure with no workaround — the model rebuilt rather than clarified.
No. If a face or object has dissolved into smooth shapes, the detail isn't recoverable. Anything you get back is generated. AI unblur works best on photos that are somewhat soft, not photos that are destroyed.
No. Unblurring targets clarity within the pixels you have. Upscaling increases pixel dimensions. If your image is small, try AI image upscaler. If it's large but soft, try AI unblur image. Some files benefit from both, usually with clarity correction before final enlargement.
It can, especially with softer sources. Fine facial features are where models improvise most. Always compare eyes, mouth, and nose against the original, and don't publish anything where identity shifted.
Trust it only after reading it character by character against the original. Sharpened text can be silently wrong. For anything consequential, retake the screenshot at higher resolution or re-export from the source.
Usually compression. Photos pulled from marketplaces, social platforms, or messaging apps carry artifacts that sharpening amplifies. Go back to the camera original.
Do clarity work early, on the unedited original, then handle color, cropping, and export. Sharpening last on top of other edits tends to amplify whatever those edits introduced.
It can help with mild softness, and it works best as one part of broader restoration. Rescan the print if you still have it, keep the original file, and be cautious about accepting reconstructed faces as accurate likenesses.
Check at full print size before committing. Something that looks sharp on screen can show halos and synthetic texture in print. If you need more size as well as clarity, upscale after sharpening and inspect again.
The most useful shift in thinking is this: AI unblur is better treated as a finishing tool than a recovery tool. It takes photos that are close and can make them more presentable. It doesn't turn failures into successes, and pretending otherwise leads to published images that quietly look wrong.
So triage first. Mild softness, process and inspect it. Compression, find a better file. Low resolution, upscale. Severe blur, reshoot. And whatever you do, compare at full zoom before the image leaves your desk.
A practical guide to AI sketch to image: prepare pencil drawings, line art, or screenshots, write prompts that respect your lines, and fix the common failures.
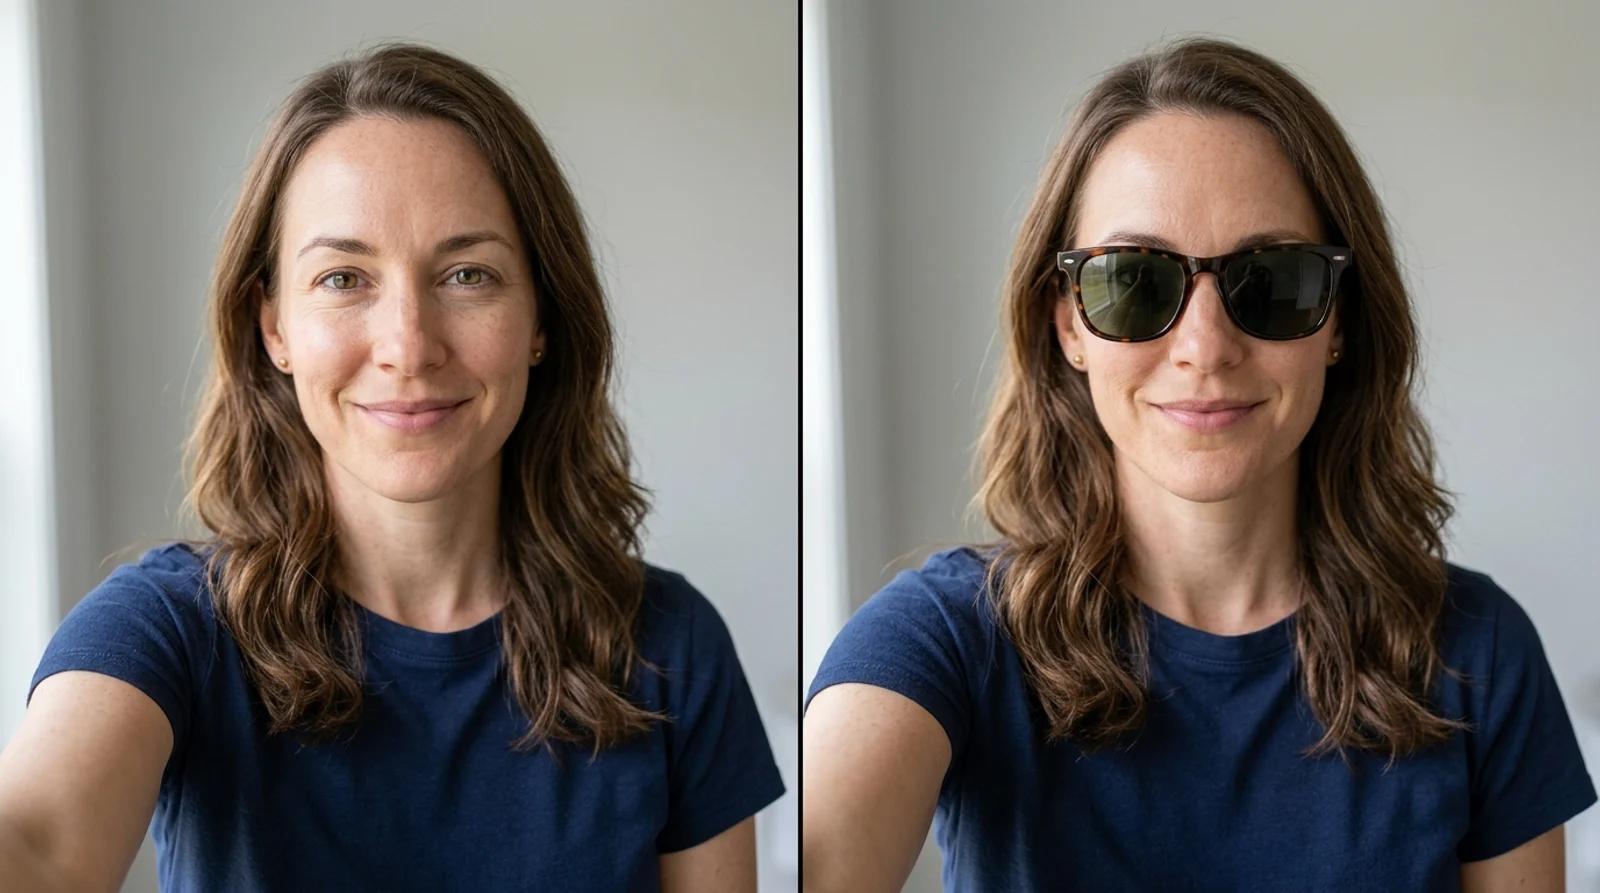
Try on sunglasses virtually from one selfie with free AI. Learn the upload-to-result flow, which frame suits your face shape, and how to read the result honestly.
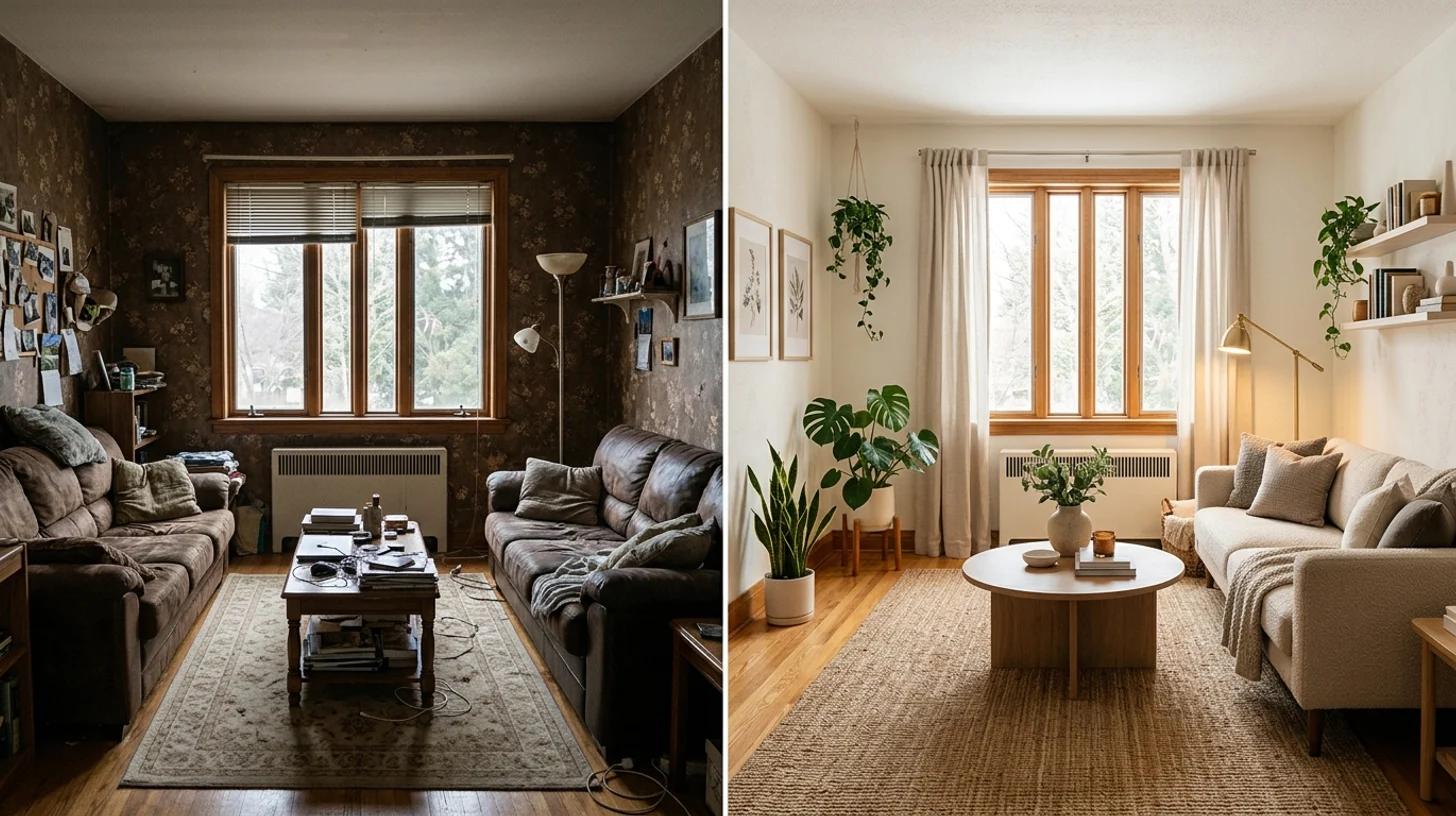
A practical guide to redesign a room with AI for free. Upload a photo and see your space restyled with new furniture, decor, and lighting before you spend a dollar.
Newsletter
Subscribe to our newsletter for the latest news and updates