

How to Try On Hats Virtually From a Photo (Free AI Try-On)
Try on hats virtually from one photo with free AI. See how the upload-to-result flow works, which hat style suits your face, and how to read the fit honestly before you buy.

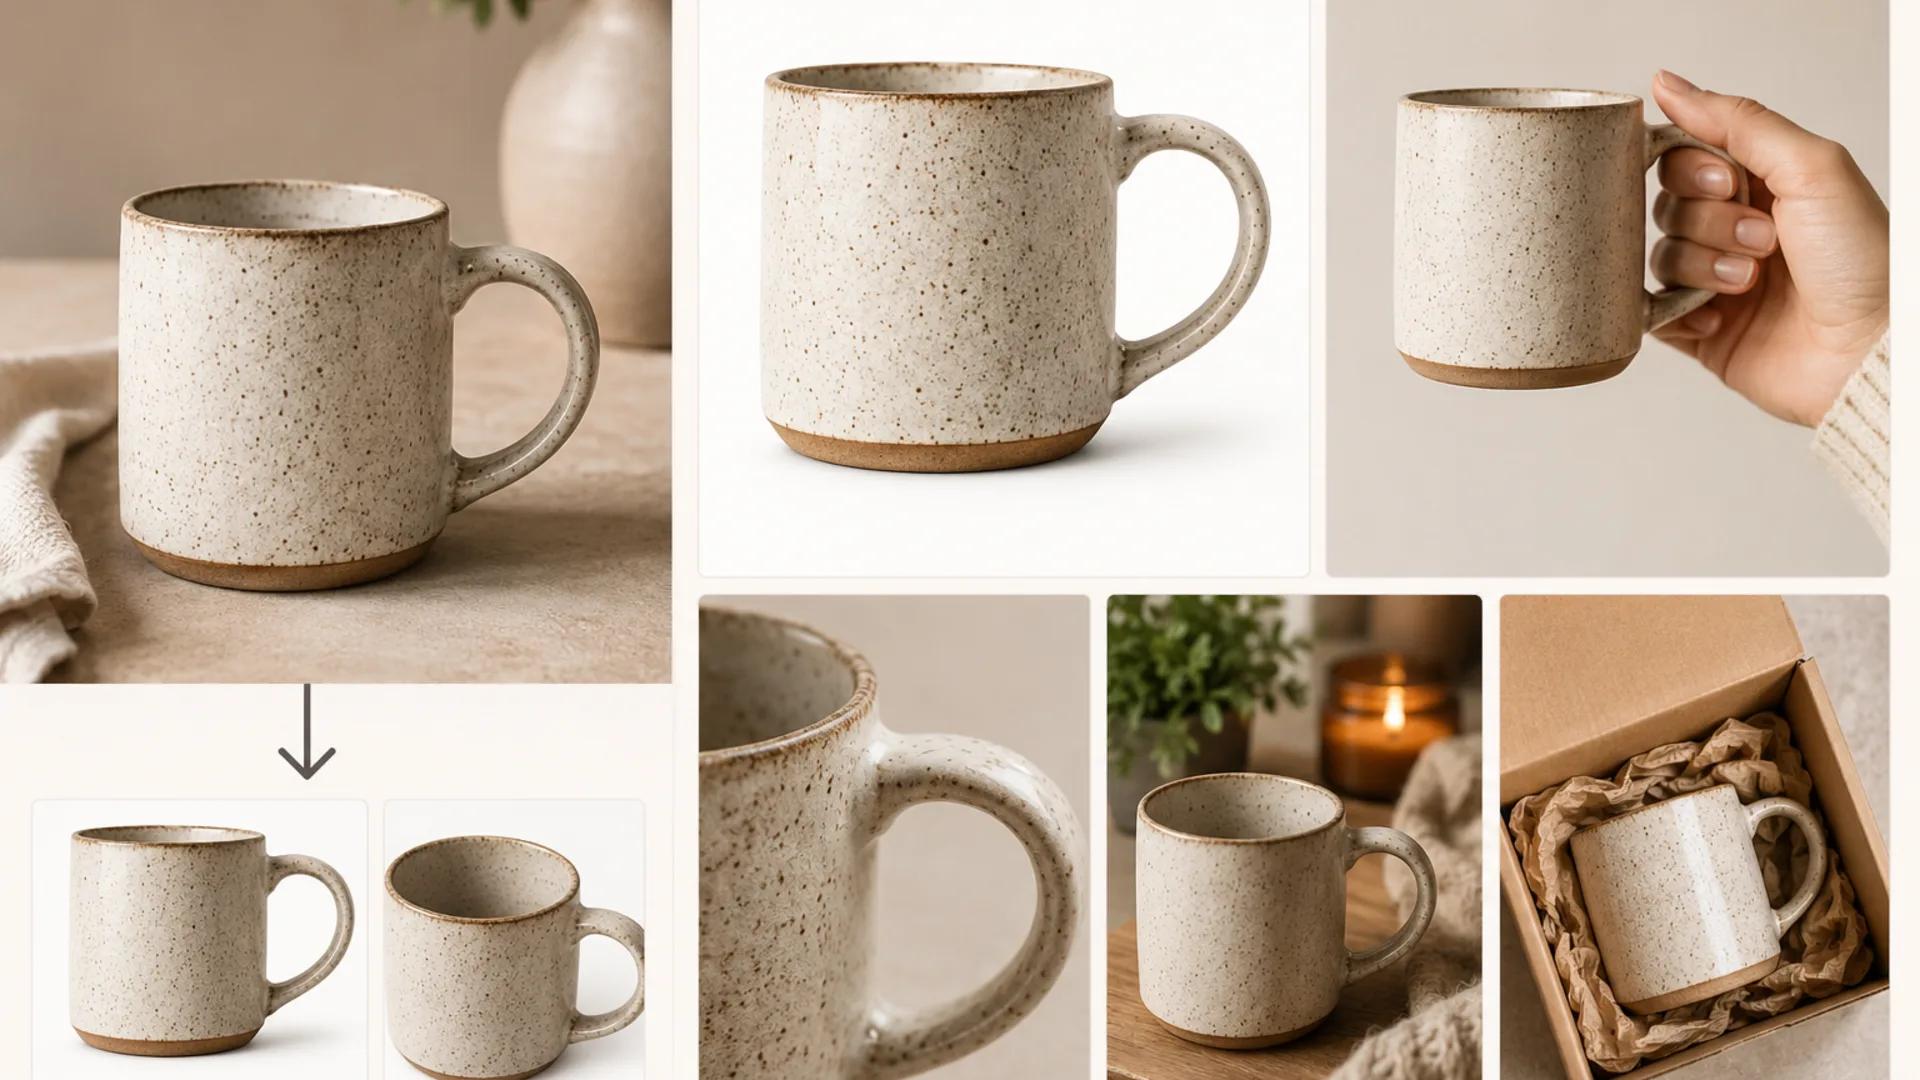
A practical workflow for turning one real product photo into a full Etsy listing set with AI, while keeping shape, color, materials, and handmade variation accurate.
An Etsy gallery can look polished and still leave a shopper with basic questions: how big is the item, what is it made of, and what exactly arrives in the box?
That is a content problem as much as a lighting problem. AI editing can turn one honest product photo into controlled background and lifestyle variations, but it should not fabricate angles, details, scale references, or package contents that the source never recorded.
This guide covers how to create Etsy listing photos with AI in a way that stays truthful to the product you actually ship.
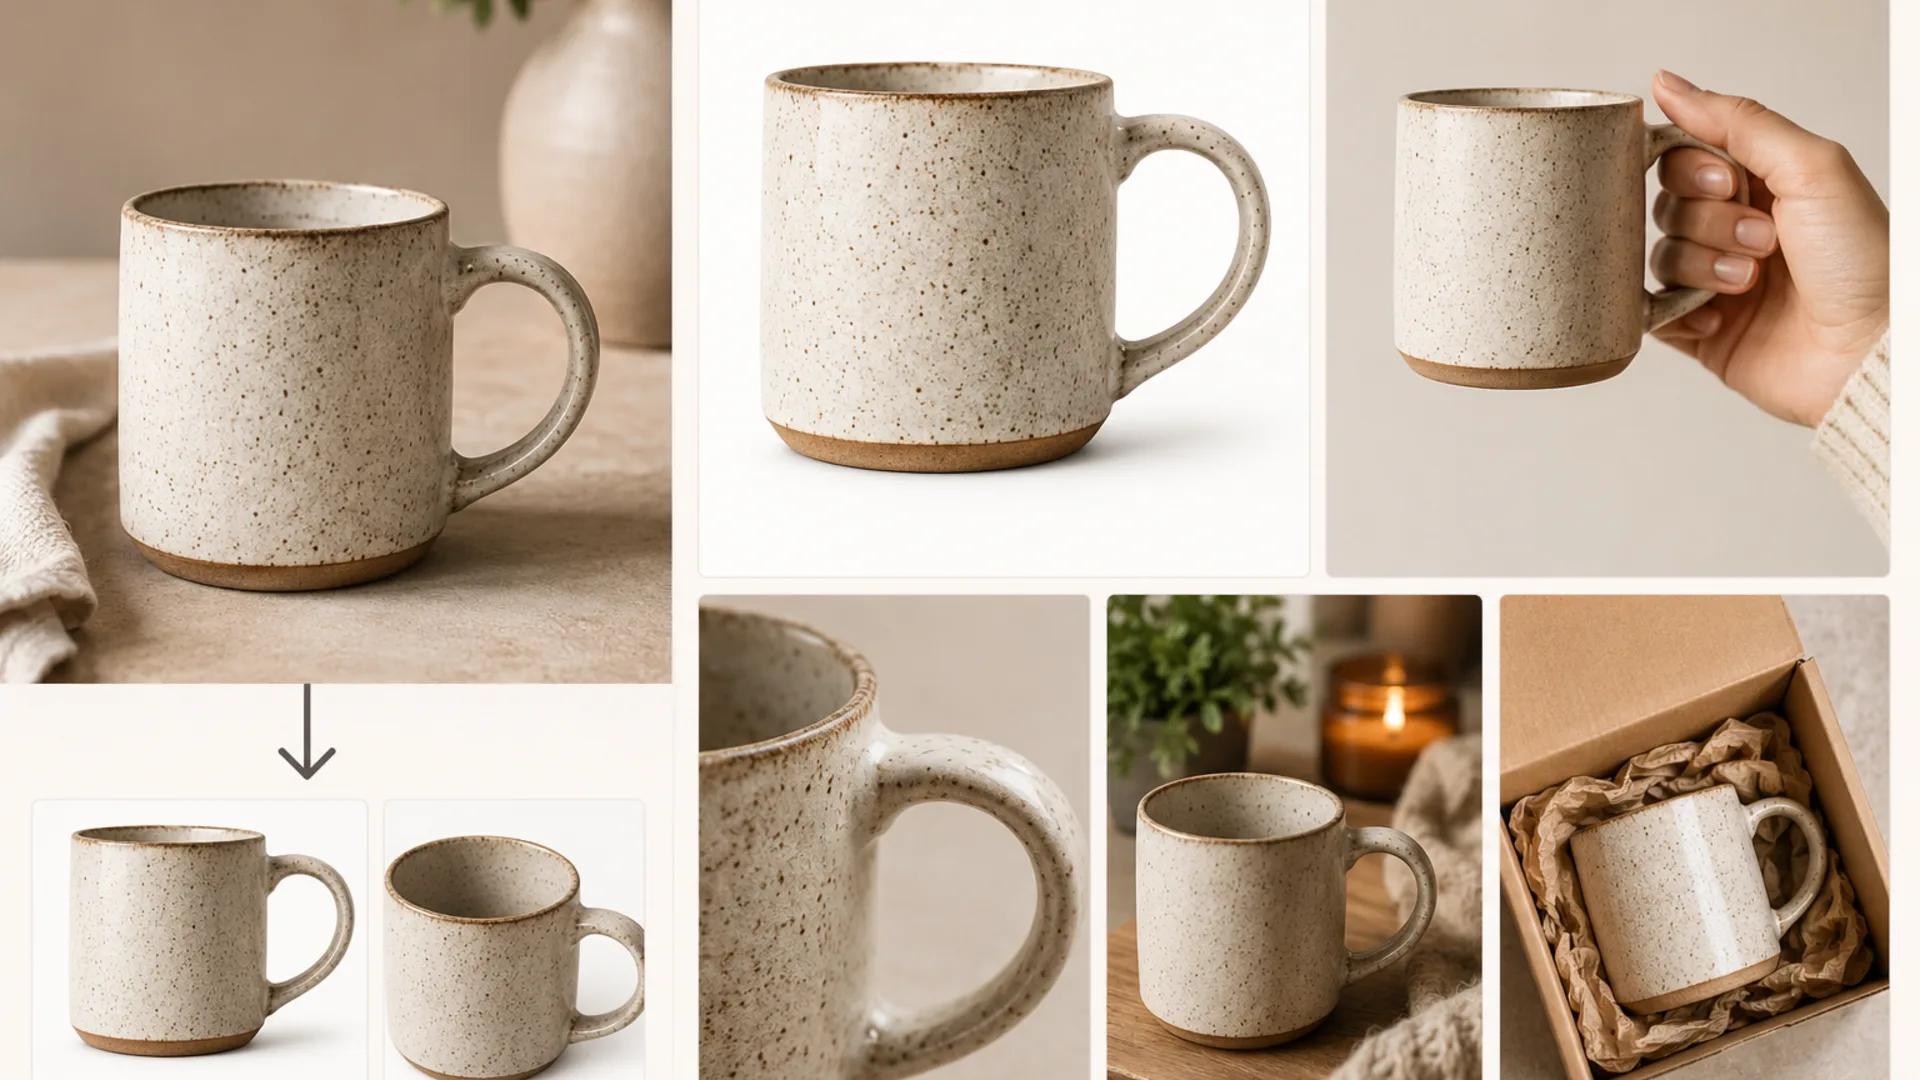
AI editing amplifies whatever you feed it. If the source photo is blurry, badly white-balanced, or shot at a weird angle, you will spend the rest of the session fighting it.
Before you touch any tool, capture one base photo with:
One clean file is enough to begin the primary and lifestyle images. Photograph additional angles, close details, scale references, variants, and package contents whenever those facts are not visible in the base image. AI cannot truthfully reconstruct a hidden side of a real item from guesswork.
Think of your gallery as a sequence of answers rather than a portfolio. Each slot has a job.
This is the only image most shoppers see before deciding whether to click. It needs one subject, generous breathing room, and no text overlay competing with Etsy's own interface elements.
Start by isolating the item with the AI background remover, then place it on a clean neutral backdrop. Keep the product occupying roughly two-thirds of the frame — large enough to read on a phone, not so tight that it feels cropped.
Resist the urge to stage the primary image. Props, hands, and scenery belong in later slots.
Size confusion creates avoidable questions. Photograph a trustworthy reference in the same plane as the product: a ruler, a coin whose size your audience recognizes, or a hand holding the item. Put exact measurements in the listing copy as well.
The reference must be proportionally correct. A generated hand or prop can make the product look larger or smaller than it is. Photograph the scale shot for real and use AI only to clean its background.
Crop into the part of the item that justifies the price: the stitch line, the glaze pooling, the joinery, the clasp, the hand-painted edge.
If your original file is sharp but small, run it through the AI image upscaler before cropping so the texture has more room in the final file. AI upscaling can add plausible detail; it cannot recover information that was never captured, so shoot close-ups deliberately and compare the result with the item.
One scene is usually enough. A mug on a kitchen counter with morning light. A tote on a chair by a doorway. A print on a wall above a sideboard.
Use image-to-image editing so the product itself is carried over from your real photo rather than regenerated. The scene changes; the item does not. This is the single most important rule of AI product editing.
If you sell sizes, colorways, scents, or personalization options, one image should map choices to visuals. Lay the variants side by side in consistent lighting, in the same order as your listing's dropdown, with clear labels.
Only show variants you can actually make and ship. Generating a "sage green" version you have never produced is the fastest way to an unhappy buyer.
Show the item alongside everything that ships with it: the box, the tissue, the care card, the gift note, the chain that comes with the pendant. If it is a set of three, the image must show three.
This slot quietly prevents "I thought the stand was included" messages.
AI models are pattern-completion engines. Left unconstrained, they will smooth an uneven hand-thrown rim, straighten a hand-cut edge, or add a strap that was never there. Your job is to constrain them.
Use image-to-image editing rather than text-to-image generation for anything that includes the product. Ask for changes to the surroundings only, not a redraw of the subject.
After each edit, compare the result side by side with your original at full zoom. Check the silhouette outline, the exact hue (a mustard yellow that drifts to orange is a real problem for a buyer matching decor), and the surface: matte should stay matte, brushed metal should not become mirror chrome.
AI models garble small text reliably. If your item has a stamped maker's mark, a woven label, a printed care tag, or engraved lettering, treat those regions as off-limits.
Two workable approaches: mask those areas so the edit does not touch them, or edit the background separately and composite your unmodified product layer back on top. If a label comes back with scrambled characters, discard the output. Do not ship it and hope nobody zooms.
This one matters for handmade sellers specifically. Slight asymmetry, visible brush strokes, wood grain that differs board to board, small glaze pooling — these are not defects to be cleaned up. They are what buyers are paying for, and they are what sets expectations for the specific piece that arrives.
If you sell made-to-order items where each piece differs, say so in the description and keep at least one image showing genuine variation. An overly perfected gallery creates expectations that a handmade item cannot meet.
Adapt the bracketed parts. These are written for image-to-image editing with your real product photo as the input.
Clean primary image
Using the attached product photo as the source, keep the product completely
unchanged in shape, proportion, color, texture, and all markings or labels.
Replace only the background with a seamless [soft white / light warm grey]
studio backdrop. Soft diffused lighting from the [left], gentle natural
shadow beneath the product to ground it on the surface. Center the product
with even margin on all sides. No props, no text, no added objects, no
reflections that were not in the original. Photorealistic, neutral color
balance.
Lifestyle scene
Using the attached product photo as the source, place the exact same product,
unmodified, into a realistic [kitchen counter / bedside table / entryway
bench] scene. Keep the product's size, color, material finish, and every
label identical to the source image. Natural window light from the [right],
soft shadows consistent with that light direction. Background props limited
to [a folded linen cloth and a small plant], slightly out of focus. The
product remains the clear focal point. Do not add, remove, or alter any part
of the product itself. Photorealistic, consistent perspective and shadow
direction.
Detail and context view
Using the attached product photo as the source, produce a close-up crop
focused on [the stitched seam / the glazed rim / the engraved surface].
Preserve real texture and any natural irregularity exactly as captured — do
not smooth, straighten, or idealize the surface. Shallow depth of field with
the focal detail sharp. Neutral background, no added elements. Keep the
original color values. Photorealistic macro product photography.
If you would rather skip prompt writing, the AI Etsy listing photo generator runs these presets against your uploaded photo directly.
Etsy accepts JPG, GIF, PNG, SVG, and HEIC files for listing images.
One detail catches sellers regularly: transparent areas in PNG files appear black on Etsy. If you removed the background and exported a transparent PNG, flatten it onto a solid background before uploading, or export as JPG instead. This is a common cause of "why is my photo black" support tickets.
Etsy's image requirements and recommendations change over time, including size and quality guidance. Check the current version of Etsy's official requirements and best practices for images before a batch upload rather than relying on numbers you memorized last year.
Run every image through this before it goes live.
| Check | What to look at | Passes when |
|---|---|---|
| Silhouette match | Overlay edit against original at 100% zoom | Outline, proportions, and handle/strap/seam placement are identical |
| Color accuracy | Compare to the physical item under daylight | Hue and saturation match; no drift toward warmer or cooler |
| Material finish | Zoom into the surface | Matte stays matte, gloss stays gloss, weave and grain still visible |
| Labels and text | Zoom to 200% on every marking | All characters legible and correct; nothing garbled or invented |
| No invented features | Full-frame scan | No added straps, buttons, lids, cords, or decorative elements |
| Scale honesty | Reference object proportions | Reference item is realistically sized relative to the product |
| Included items | Packaging image vs. listing description | Image shows exactly what ships, no more, no fewer |
| Variant truth | Every variant shown | Each variant is one you can actually produce |
| Handmade variation | Detail and primary images | Natural irregularity preserved, not smoothed away |
| Mobile thumbnail | View at roughly thumbnail size on a phone | Product is identifiable in under a second; no cropped edges |
| Lighting consistency | Compare all images in the set | Shadow direction and color temperature are coherent across the gallery |
| Transparency | Check PNG exports | No transparent regions remain; flattened or saved as JPG |
| Resolution | Zoom to full size | Sharp, no upscaling artifacts, no mushy texture |
| Gallery order | Full sequence | Primary, scale, detail, lifestyle, variant, packaging |
Do I still need to photograph the product myself?
Yes. AI editing works from a real photo of the real item. Generating a product from a text description produces something you cannot ship, and listing it would misrepresent what buyers receive.
How many photos should a listing have?
Enough to answer the buyer's questions. The six-slot structure above covers size, material, context, options, and contents. Adding more images that repeat the same information does not help anyone decide.
Will AI editing keep my colors exactly right?
Not automatically. Color can drift during editing, which is why the QA table puts color comparison against the physical item near the top. Check it every time rather than assuming the output is faithful.
Can I use AI to fix a genuine flaw in the item?
No. Removing a scratch, chip, or irregularity that exists on the item you are shipping misrepresents the product. Photograph a different unit, or disclose the flaw and price accordingly.
Is it fine to disclose that images were AI-edited?
Many sellers add a short line noting that background and staging were digitally edited while the product is shown as it ships. It costs nothing and preempts questions.
What should I do if an edit looks almost right?
Discard it. "Almost right" in product photography usually means a shape shifted slightly or a label softened, and those are exactly the differences buyers notice when the parcel arrives.
Start from one honest photo, use AI to build out the views that answer real buyer questions, and check every output against the physical item. That order — real first, edited second, verified third — is what keeps a gallery both useful and accurate.
Try on hats virtually from one photo with free AI. See how the upload-to-result flow works, which hat style suits your face, and how to read the fit honestly before you buy.
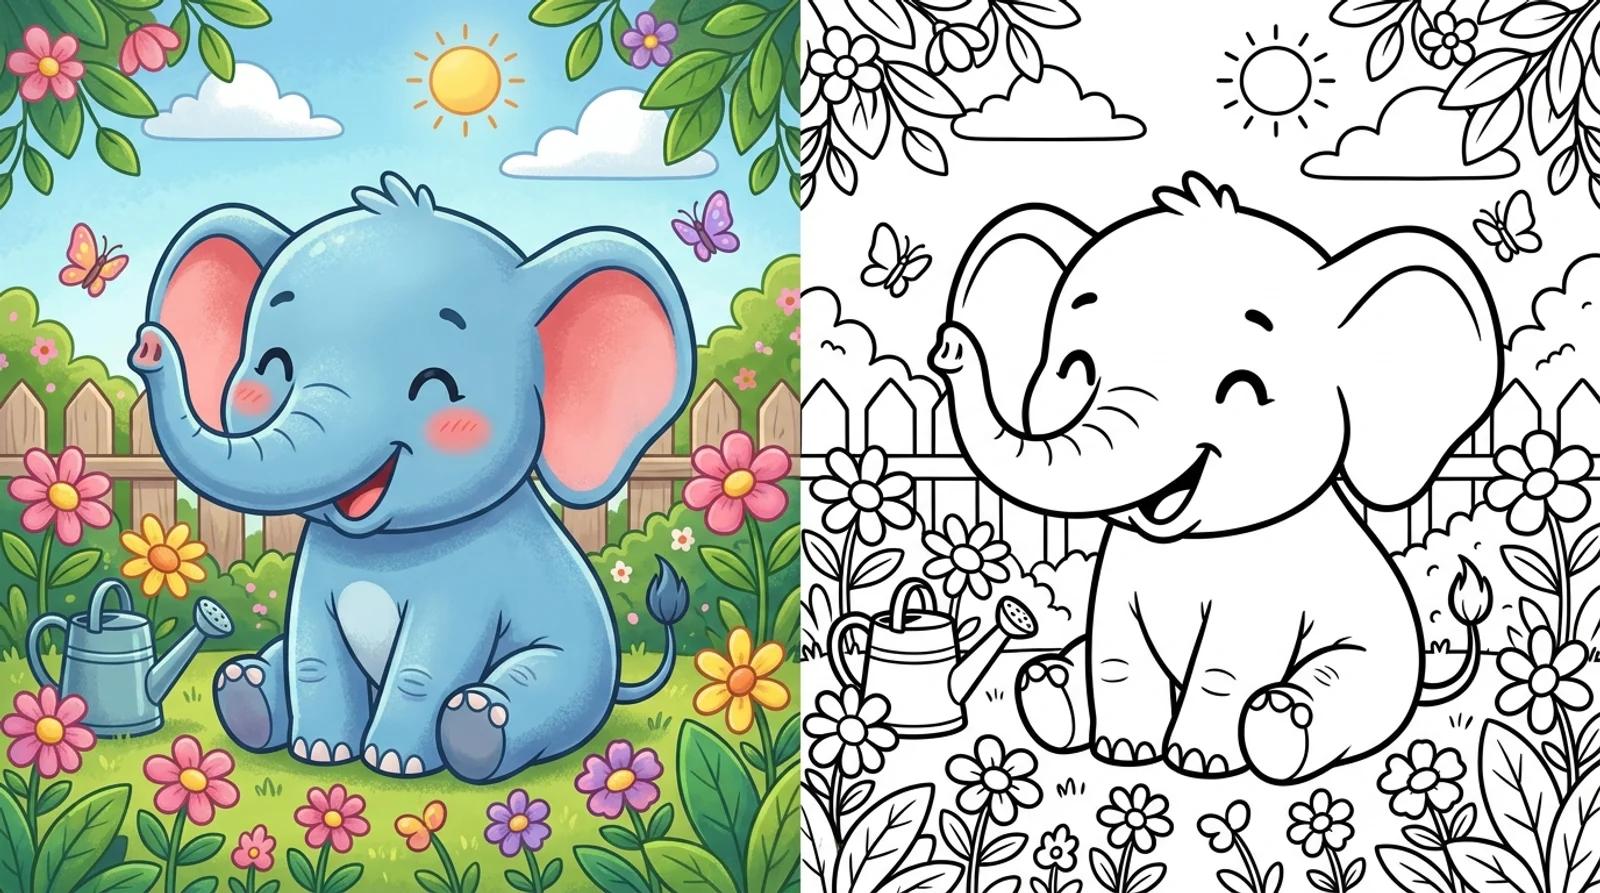
Make custom coloring pages with AI from a text prompt or a photo. Get clean, free printable black-and-white line art for kids and classrooms.
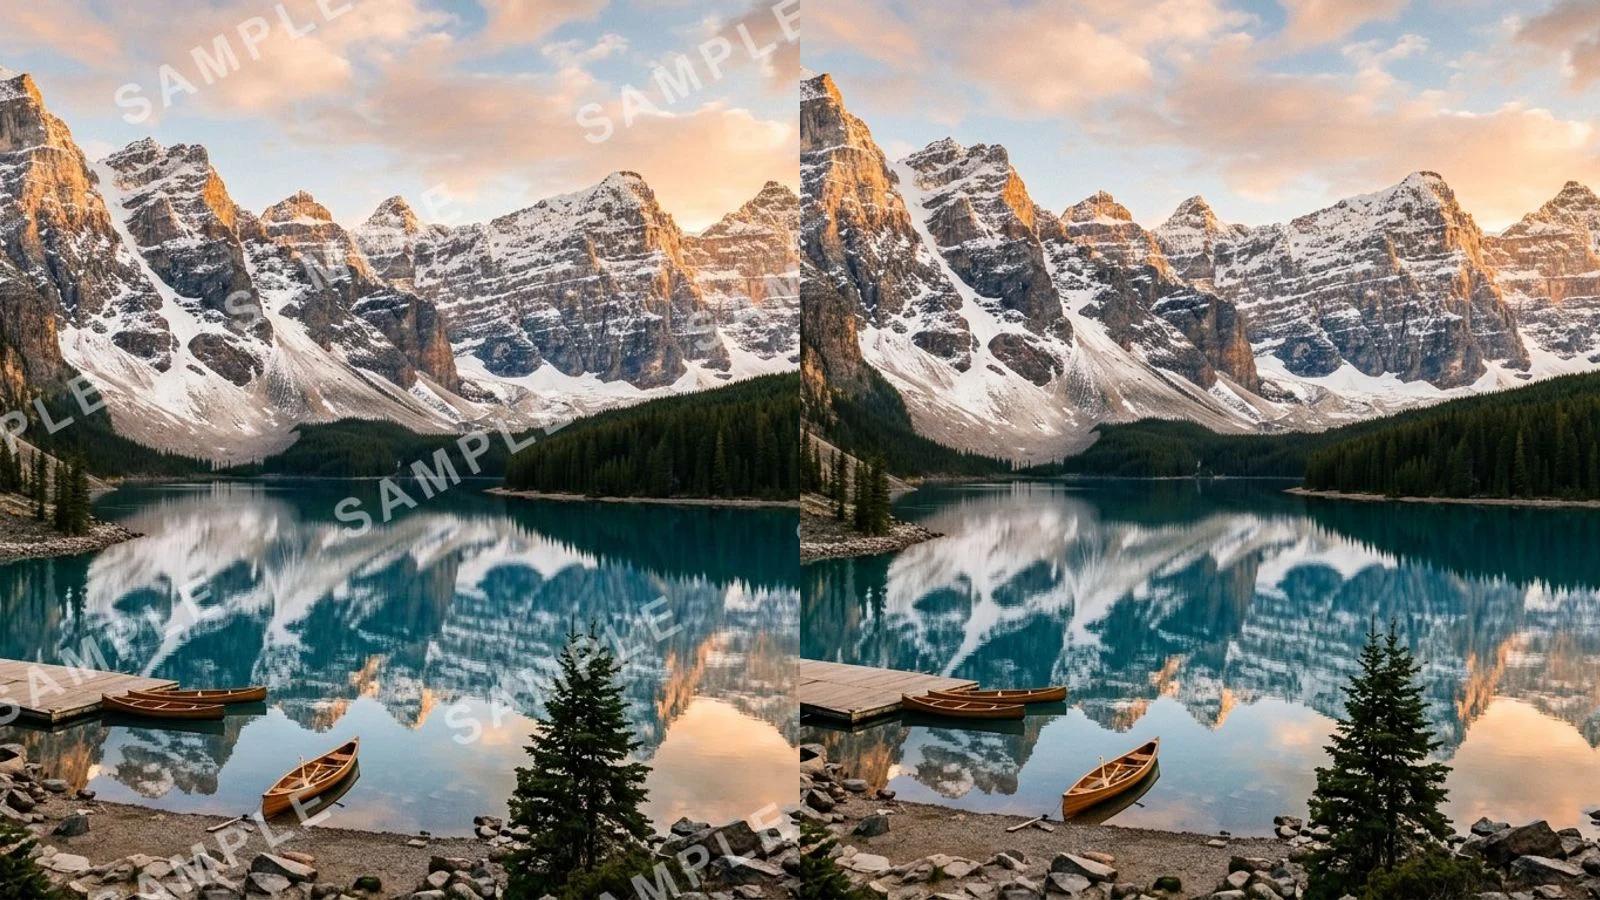
Remove a watermark from a photo for free with AI. Clear stock marks, logos, signatures, and date stamps in one click, no Photoshop needed.
Newsletter
Subscribe to our newsletter for the latest news and updates