
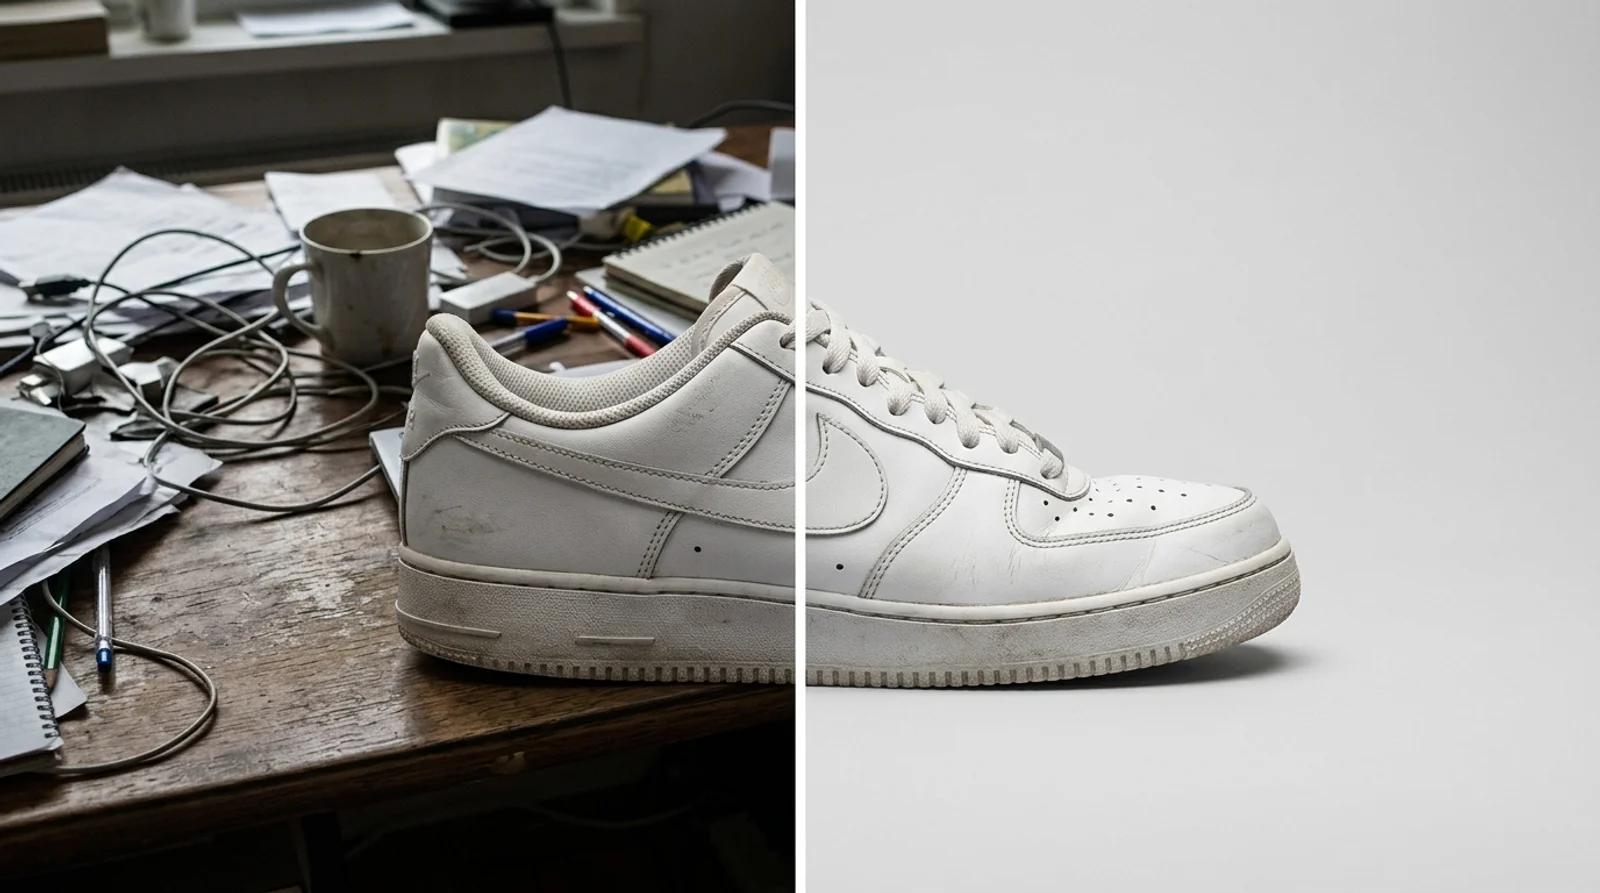
How to Change the Background of a Photo Online for Free (AI Background Changer)
Change the background of a photo online free with AI. Swap a messy backdrop for a clean studio one on product shots, portraits, and listings.
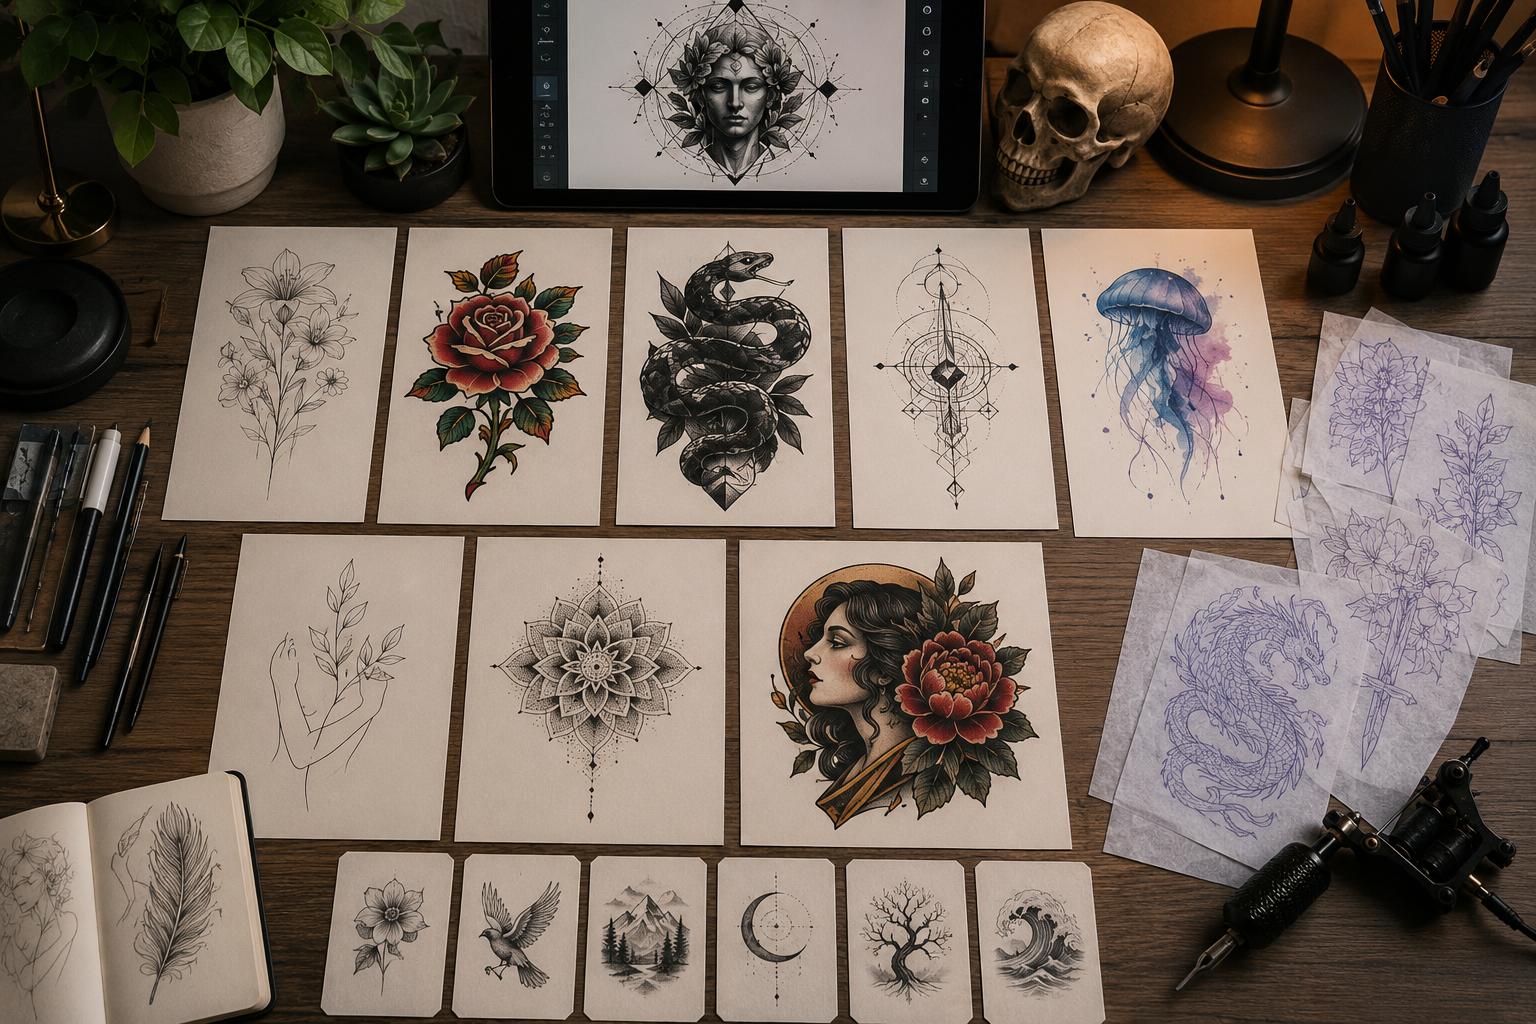
Learn how to design a tattoo with AI from concept to artist brief. A step-by-step Inkfox workflow for prompts, styles, revisions, and building a reference your tattoo artist can actually use.
Getting a tattoo used to mean scrolling through hundreds of saved images, sketching rough ideas on paper, and hoping an artist could read your mind. AI changes that middle step. It will not hold the machine, and it should not replace the artist, but it can help you turn a vague feeling into a clear visual brief in an afternoon.
This guide explains how to design a tattoo with AI in a way that respects the craft: you get a strong reference, your artist gets room to do their job, and nobody mistakes a generated image for a final stencil.
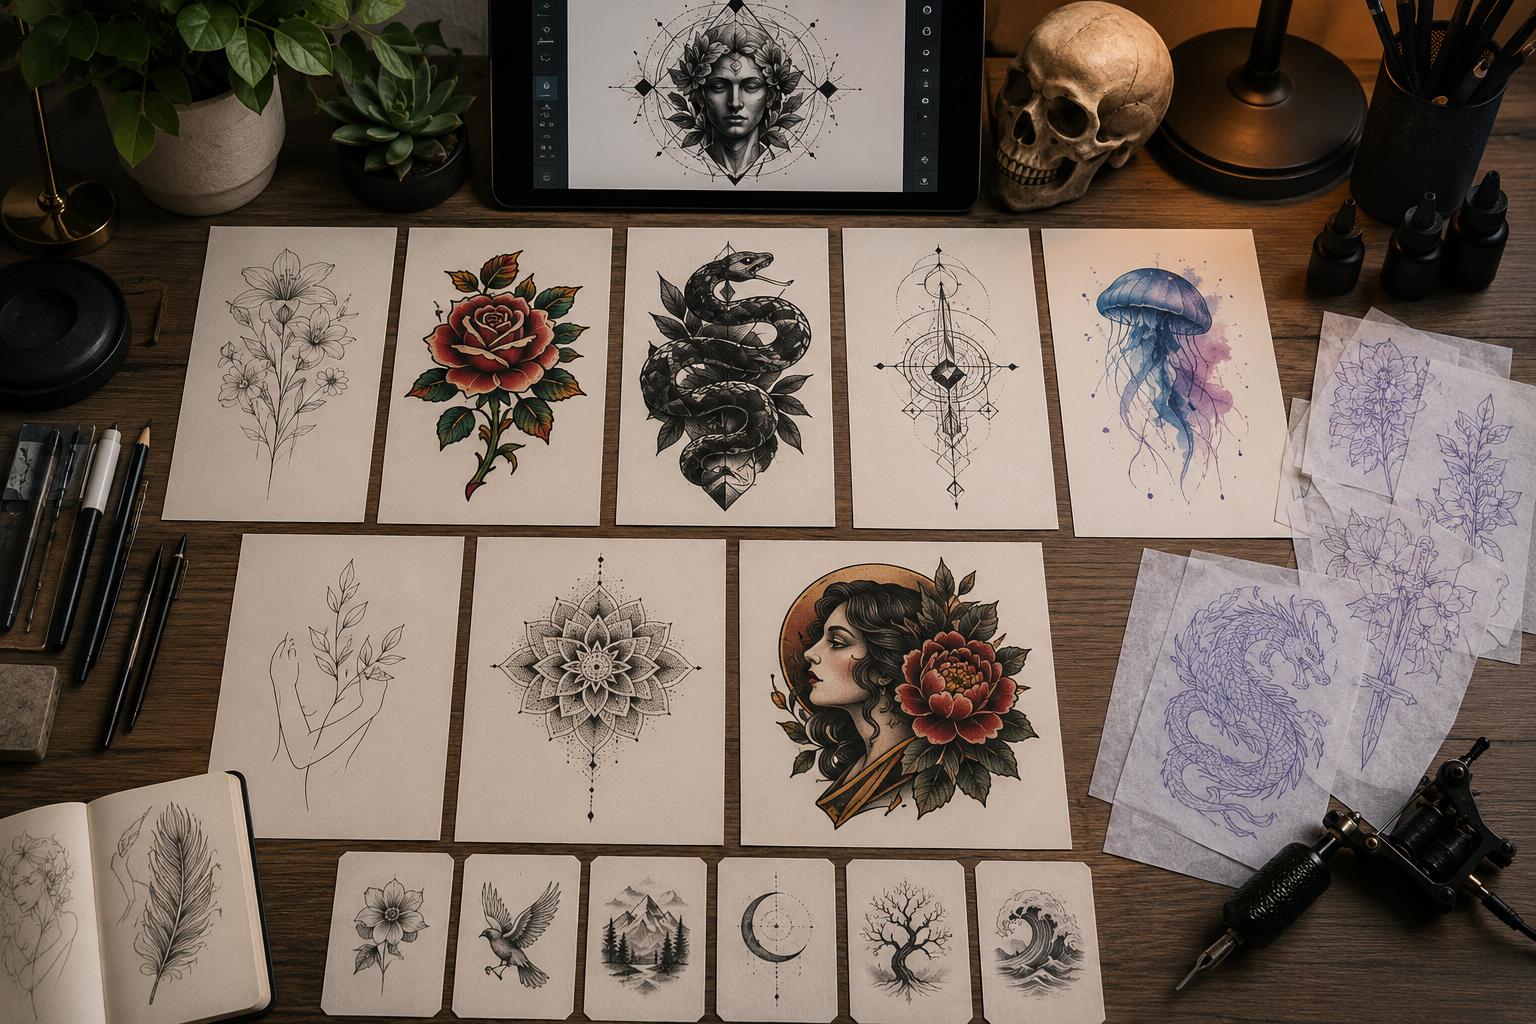
A tattoo artist's consultation time is limited. Walking in with "something ocean-related, maybe with a compass" leaves them guessing. Walking in with a short story, three refined references, notes on line weight, and a rough placement idea gives them a clearer starting point.
AI helps you:
What AI cannot do is just as important: it cannot size a stencil for your body, judge how a design will age on skin, guarantee sterile practice, or replace the artist who redraws and places the final tattoo. Treat every output as a design reference only.
Before opening the AI tattoo design generator, spend ten minutes writing a short concept note.
Answer four questions:
This note becomes the spine of every prompt. Without it, AI will happily give you generic roses, snakes, moons, skulls, and compasses that look polished but say very little.
A useful tattoo prompt has four layers: subject, style, composition, and constraints.
Be specific. "A wolf" usually produces a stock wolf. "A wolf mid-stride looking back over its shoulder, one paw lifted" creates a clearer visual problem for the model to solve.
Name the tradition or visual direction. Use terms like fine-line, blackwork, geometric, dotwork, engraving, botanical illustration, American traditional, Japanese irezumi, ornamental, minimalist, or neo-traditional. Avoid asking for a living artist's exact style.
Describe the shape of the design: circular emblem, vertical forearm panel, small wrist mark, shoulder piece, negative-space silhouette, flash-sheet icon, or flowing sleeve element. Composition decides whether the design will read well on the body.
Add the practical boundaries: black ink only, no text, no color, clean white background, stencil-friendly linework, strong contrast, open negative space, no logos, no watermark.
A single-needle fine-line tattoo of a mountain range reflected in still water, framed inside a thin circle, black ink only, clean white background, minimal shading, symmetrical composition, small enough for an inner forearm, no text, no color.
Generate eight to twelve variations. Do not fall in love with the first one. The point is to compare directions.
If you are not sure which tattoo style fits the idea, run the same subject through several styles.
| Style | Works well for | Watch out for |
|---|---|---|
| Fine-line | delicate symbols, florals, small personal marks | lines can become too thin or crowded |
| Blackwork | bold icons, abstract shapes, high contrast | can overpower tiny placements |
| Dotwork | mandalas, geometric shading, celestial motifs | dense dots may not read at small sizes |
| Traditional | animals, daggers, roses, nautical subjects | strong style rules; avoid weak linework |
| Neo-traditional | illustrative animals, portraits, ornate subjects | color and detail can become too busy |
| Minimalist | small marks, symbols, clean silhouettes | can become generic without meaning |
| Watercolor | expressive color, loose mood boards | real tattoo execution needs careful planning |
| Botanical | leaves, flowers, natural forms | fine detail must be simplified for skin |
The Inkfox AI tattoo design generator is useful here because it is built around tattoo-specific styles and references. For more open-ended concept exploration, use text-to-image, then refine promising outputs with image-to-image.
The common mistake is regenerating over and over and hoping the perfect tattoo appears. A better approach is to iterate deliberately.
If the composition is strong but the linework is too thick, keep the composition and only change the line instruction. If the subject is right but the frame is wrong, keep the subject and change the composition.
Feed a promising output into Image to Image and write a focused prompt:
Same composition, thinner fine-line work, more negative space, fewer interior details, clean white background, black ink only.
This evolves a direction instead of rolling a new random idea.
You may like the moon from one output, the flower placement from another, and the line weight from a third. Describe that combination in the next prompt. AI is most useful when you actively direct it.
Three to five references are enough. Thirty generated images make the artist's job harder, not easier. Save the best directions and label them by what you like: "composition," "line weight," "flower shape," "placement idea," or "mood."
Before sending the references to a tattoo artist, check whether the idea can survive real-world tattoo constraints.
Tattoos soften over time. Very fine parallel lines can merge. Tiny gray washes may fade. If the design depends on extremely small details, ask the artist to simplify it.
Shrink the image on your phone to the approximate tattoo size and hold it at arm's length. If it turns into a dark blur, the composition is too busy for that placement.
Bodies are not flat rectangles. A design that looks perfect on a square canvas may fight the curve of a forearm, shoulder, rib, or calf. Print it at size, place it on the intended area, and notice whether the shape feels natural.
Do not ask AI to copy an existing tattoo, imitate a named artist, reproduce a private symbol, or recreate copyrighted characters. Use AI to explore original references, then collaborate with a professional on a custom design.
This is where AI-assisted tattoo design either helps your artist or creates noise. Keep the brief clear.
Include:
Then say this clearly: "These are references. Please redraw it in your style, size it for my body, and tell me what will not work." A good tattoo artist should have room to improve the idea.
AI can help with visual exploration, but some decisions belong to a professional.
Use AI as the mood board and rough sketch stage. The tattoo itself is a collaboration between you and a human artist who understands skin, machines, inks, and long-term readability.
Use the Inkfox tools in this order:
Start with meaning. Write a prompt with subject, style, composition, and constraints. Generate a batch, shortlist a few, refine intentionally, and check whether the design can age, read at real size, and fit the body part. Then build a clean artist brief with two to four references marked as reference only.
Done well, AI does not replace tattoo craft. It helps you walk into the studio knowing what you want, while your artist still redraws, sizes, places, and finishes the final tattoo.
Change the background of a photo online free with AI. Swap a messy backdrop for a clean studio one on product shots, portraits, and listings.
Try on hats virtually from one photo with free AI. See how the upload-to-result flow works, which hat style suits your face, and how to read the fit honestly before you buy.
A practical guide to redesign a room with AI for free. Upload a photo and see your space restyled with new furniture, decor, and lighting before you spend a dollar.
Newsletter
Subscribe to our newsletter for the latest news and updates