You found the perfect photo, and it's too small. A product shot saved off an old listing. A logo someone sent you at 400 pixels wide. A screenshot you need to print. The moment you scale it up to fit, it goes soft and blocky, edges turn to mush, and text smears. The image is right, the resolution isn't, and there's no bigger version to go back to.
That's the gap an AI image upscaler closes. Instead of stretching the pixels you have and letting them blur, the AI rebuilds clarity and resolution from the detail in your source, so a small or compressed photo comes back sharper and larger in one pass. This guide walks through how to do it well, because the difference between a clean upscale and a plasticky, over-processed one comes down to a few choices you control.

Set your expectations before you upload, because that's what keeps you from being disappointed by an image that never held the detail you wanted back.
Upscaling enhances clarity and resolution. It sharpens soft edges, recovers fine texture, cleans up compression artifacts, and produces a larger version that holds together when you zoom in or print. It is not a fixed "2x" or "4x" button, and it is not a way to change what's in the photo. It repairs quality, it doesn't change direction.
What it handles reliably:
- Mild blur and softness. Slightly out-of-focus or low-contrast areas sharpen back up.
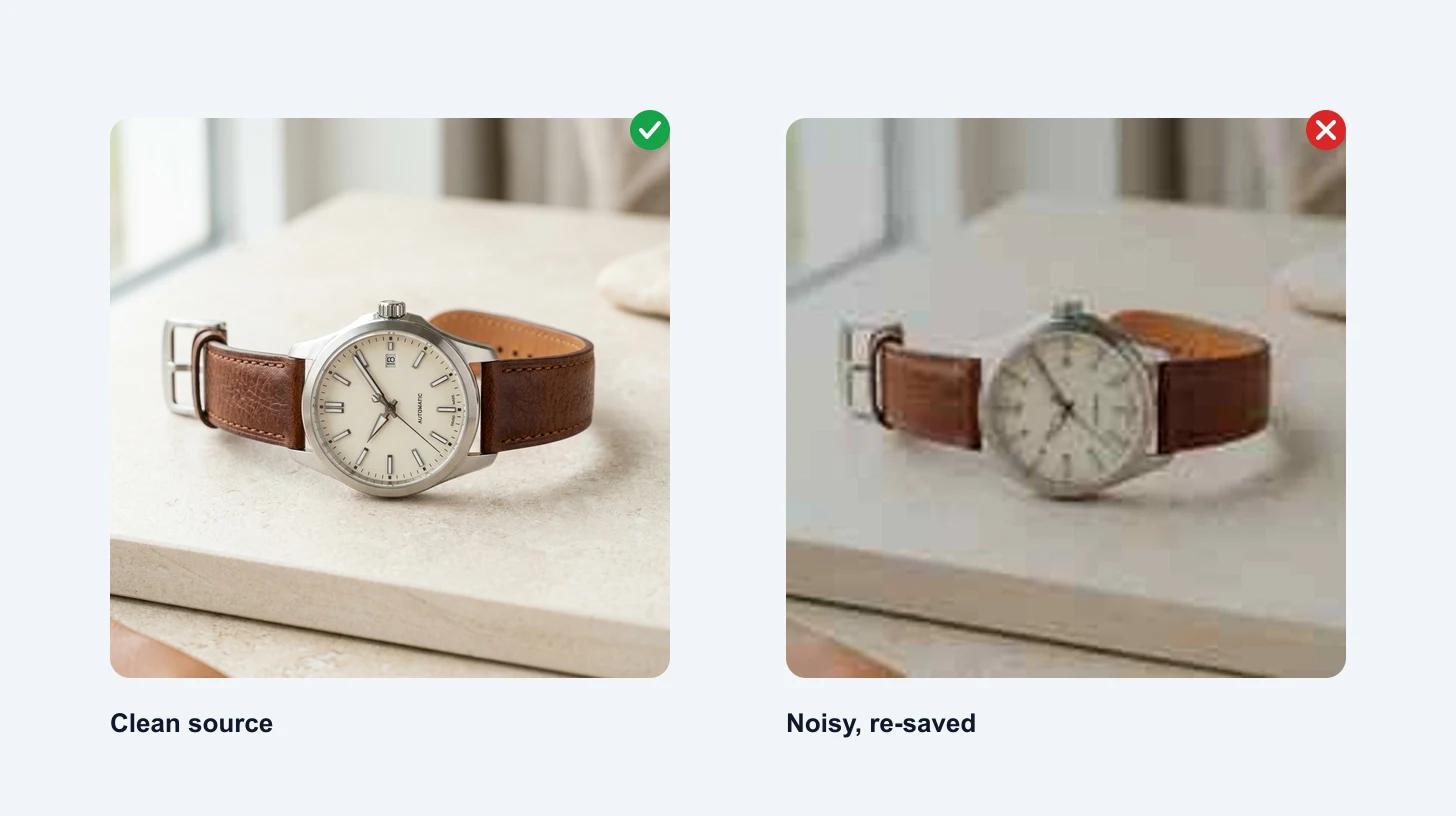
- Compression artifacts. The blocky, smeary mess that JPEG leaves behind, especially after a photo has been saved and re-saved, gets cleaned.
- Small source files. A 500px image becomes a usable larger one with real edge detail instead of stretched pixels.
- Faces, text, and edges. Features, lettering, and hard lines get crisper, as long as the source held some information to begin with.
What it can't do is invent detail that was never captured. A severely pixelated thumbnail, a deeply motion-blurred shot, or a face that's a few smudged pixels wide doesn't contain enough information to reconstruct faithfully. The AI will make a plausible guess, but treat heavily degraded sources as approximate and check the result closely.
The honest rule: the more real detail your source still holds, the more faithful the upscale. The AI recovers and sharpens what's there. It doesn't manufacture what's gone.
The source sets the ceiling. Before you upload, find the cleanest, largest version of the image that exists.
- Use the original, not a re-saved copy. Every time an image is screenshotted, forwarded, or re-exported, it loses detail. Track down the original file if you can, even if it's small.
- Skip pre-sharpening filters. Don't run a sharpen or "enhance" filter first. The AI works better from an honest source than from one that's already been processed, because filters bake in halos and noise it then has to fight.
- Pick quality over raw size. A clean, in-focus 600px image upscales better than a noisy, badly compressed 2000px one. More real pixels help only when they're good pixels.
Upload JPG, PNG, or WebP. If you have a choice, a PNG of a graphic or logo keeps cleaner edges than a JPG of the same thing.
Open the AI image upscaler and upload your file. There's no prompt to write and nothing to configure. The upscale is pre-built, so you can think about the image instead of wording instructions.
Click to upscale. The AI reads your upload, maps where detail is soft or damaged, rebuilds edges and texture, clears compression artifacts, and outputs a crisper, higher-resolution version. It keeps the same composition, colors, and content, just sharper and larger. This takes a few seconds. It's free, with no login and no watermark on the result.
When it finishes, don't just save the thumbnail-sized preview. Open the result at full size and compare it against your original at 100%:
- Faces. Features should look sharper but still natural. If a face looks waxy or smoothed into a mask, the source was too degraded. Note it and consider whether that crop is usable.
- Text and logos. Letters should be cleaner and readable. Check that the upscale didn't reshape characters or invent strokes.
- Fine texture. Skin, fabric, foliage, and grain should read as detail, not as a smeared or painted-over surface.
If the result looks over-processed, that's usually a sign the source was rougher than it looked at small size. Start from a better original if one exists. Once you're happy, download it. The full-resolution file is yours.
Different sources upscale to different degrees. Here's a realistic read on each.
| Source | What to expect |
|---|
| Small but sharp original | Excellent. Real detail to work from means a clean, much larger result. |
| Compressed / re-saved JPG | Strong. Artifacts clean up well and edges sharpen, as long as the subject isn't tiny. |
| Mildly blurry photo | Improved, not magic. Soft focus sharpens; severe motion blur has little to recover. |
| Logos, graphics, text | Very good from PNG. Edges crisp up cleanly; export at the size you need. |
| Tiny thumbnail / heavy pixelation | Approximate. Not enough information to reconstruct faithfully — review closely. |
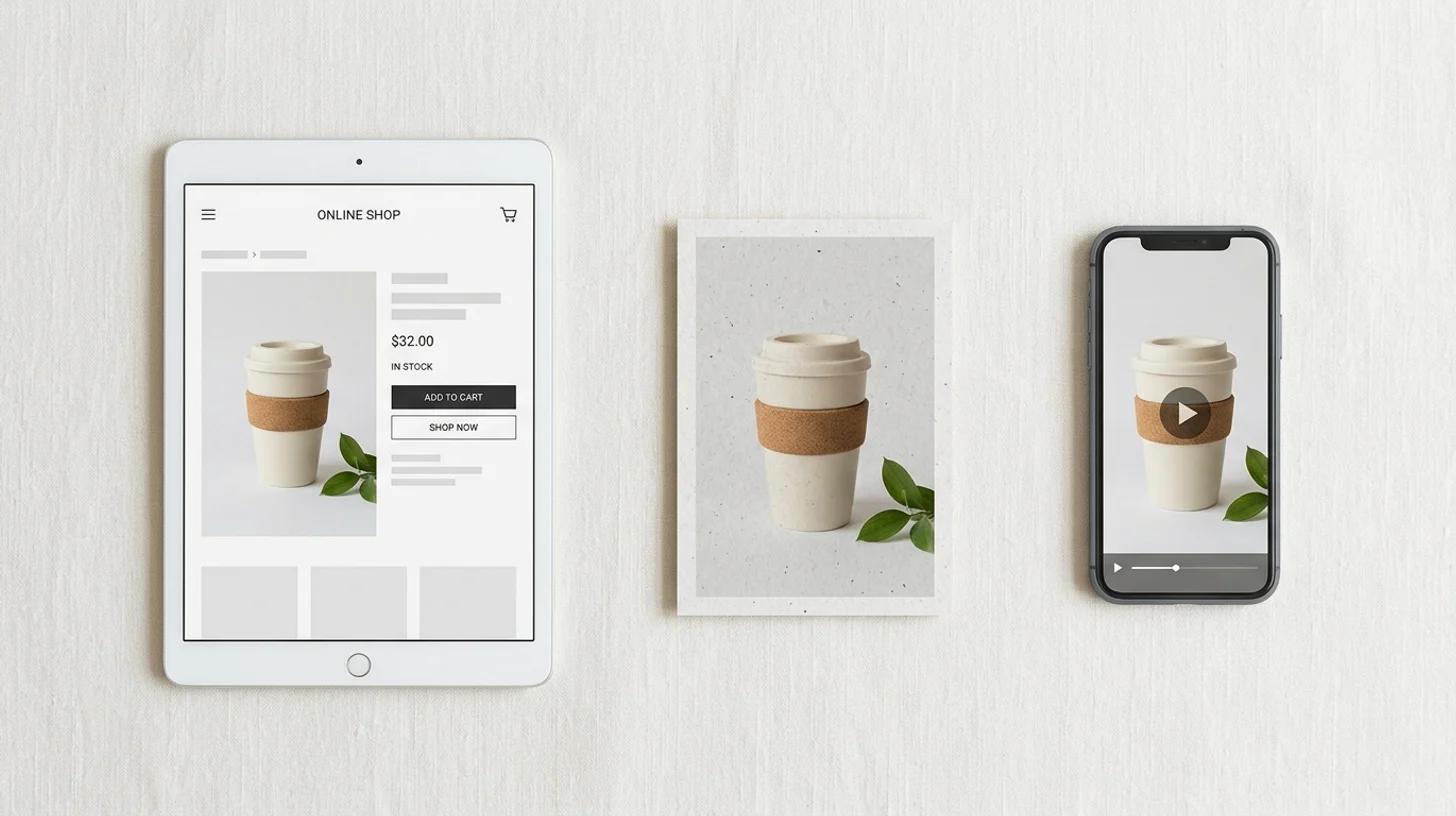
Upscaling isn't the goal, it's the step that unblocks the next thing. Once an image is crisp and large enough, it's ready for work:
- Product pages and marketplaces. Listings on Amazon, Etsy, and Shopify have minimum resolution requirements and reward zoomable, sharp photos. Upscale a small supplier image so it qualifies and converts.
- Ads and social covers. A crisp asset survives the crop, compression, and downscaling that every platform applies.
- Printing. Small web images fall apart on paper. Upscaling gives you the pixel density a clean print needs.
- A sharper first frame for video. If you're turning a still into motion with image-to-video, a clean, high-resolution starting frame produces a noticeably better clip.
"Make this image better" can mean a few different things. Upscaling is the right tool when the problem is size and softness. If your photo has a more specific issue, one of these is the cleaner fix:
- The photo is out of focus or motion-blurred → start with unblur image.
- It looks flat, dull, or low quality overall → try the photo enhancer.
- Edges are soft but the size is fine → the image sharpener targets just that.
- It's grainy or speckled in low light → run denoise first.
You can chain them. A common order is denoise, then upscale, then enhance — clean the noise so it doesn't get amplified, rebuild resolution, then lift the overall look.
A few habits separate a good result from a great one:
- Find the original first. This matters more than anything you do afterward. Five minutes hunting for the source file beats any amount of post-processing on a bad copy.
- Don't sharpen before you upload. Let the AI start from an honest source.
- Check at 100%, not at preview size. Problems hide at small zoom. Judge the result at full resolution where you'll actually use it.
- Match the format to the content. PNG for logos and graphics, the original camera file for photos.
- Know when to stop. If a tiny, heavily pixelated source comes back looking artificial, no amount of re-running fixes it. The detail isn't there. Find a bigger source or use the image at a smaller size.
The image was always right. It was just too small or too soft for where it needed to go. Start from the cleanest source you can find, let the AI rebuild the clarity and resolution, then check it at full size before you ship it.
Try the free AI image upscaler →
")
")

")